Introduction
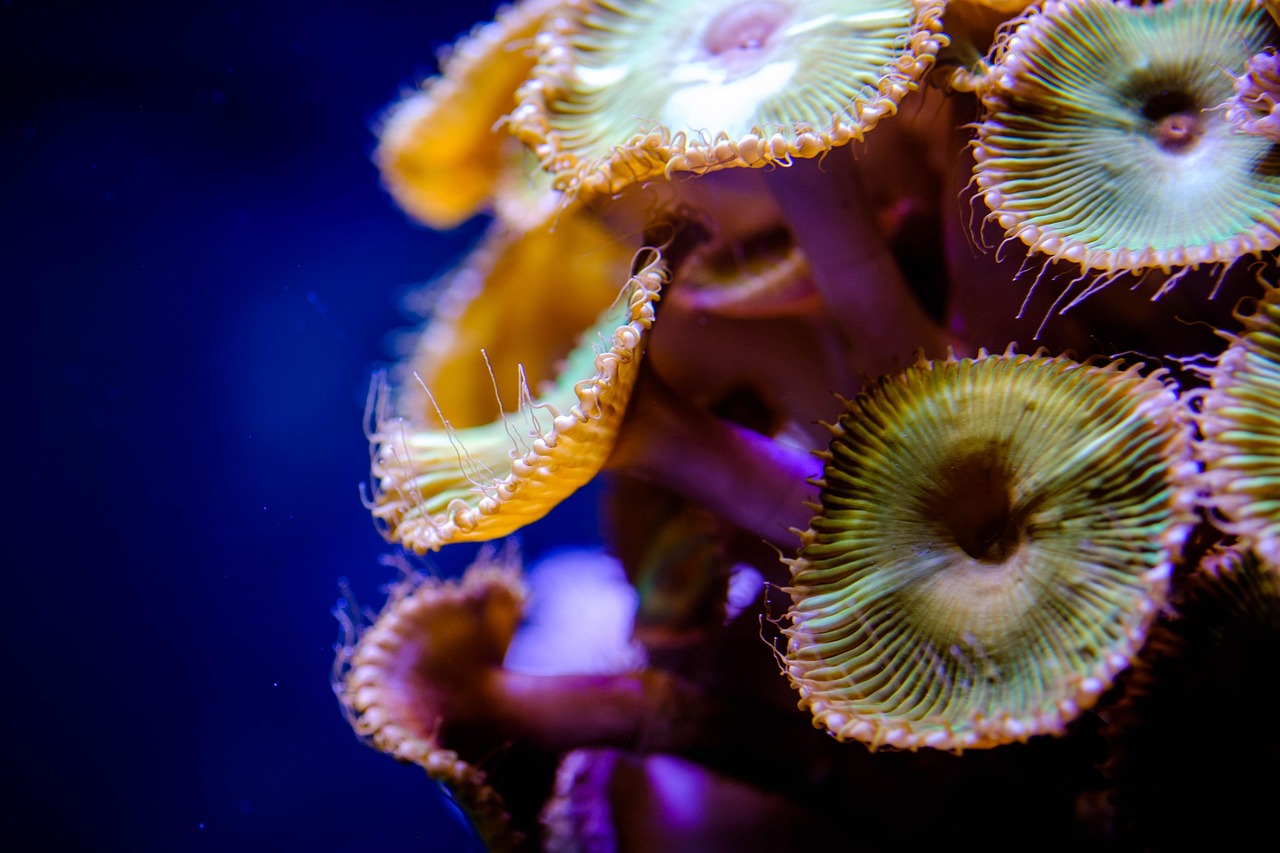
If you’re serious about growing corals, you’ll eventually realize your display tank isn’t built for it. A frag tank setup for coral propagation changes that. It’s a dedicated system designed for one thing: growing coral fragments fast and healthy. Unlike a display tank, a frag tank prioritizes density, lighting, and access over visual perfection. You don’t need aquascaping artistry here. You need practicality.
This guide covers tank selection, lighting, water flow, filtration, and the common mistakes that slow beginners down. Whether you’re a seasoned hobbyist or someone looking to sell locally, this article gives you a practical roadmap. We’ll also touch on costs and equipment priorities, so you can budget realistically.

Why You Need a Dedicated Frag Tank, Not Just a Display Tank
A display tank is for looking at. A frag tank is for working with. That distinction matters more than most beginners realize.
In a display tank, you prioritize aestheticsârockwork that hides equipment, sand beds that stay clean, and corals placed for visual balance. A frag tank flips that. You want open space for water flow, easy access to every coral, and high-intensity lighting without worrying about shadow zones. The rockwork is minimal, often just a few pieces for biological filtration. The rest is egg crate, racks, and bare bottom.
The best candidates for a frag tank are hobbyists who want to propagate specific corals, whether for hobby growth, trades, or local sales. If you’re a casual collector who just wants a few nice pieces, stick with your display tank. A frag tank adds complexity and cost that won’t pay off unless you’re actively growing out colonies.
The tradeoff is real: you sacrifice visual appeal for productivity. But the upside is that frag tanks are easier to clean, dose, and monitor. Plus, they reduce stress on your display tank inhabitants by keeping propagation activity separate.
Choosing the Right Tank Size and Shape for Frags
Tank dimensions matter more than gallon count for propagation. A long, shallow tank gives you better light penetration and easier access. A deep tank might look cooler, but it creates shadow zones and makes reaching frags harder.
Standard sizes that work well:
- 40 breeder â Best for beginners. Shallow, wide footprint, cheap. Fits standard stands. Easy to light with one fixture.
- 75 gallon â Good middle ground. More space for multiple species. Deeper than a 40B, so lighting becomes a consideration.
- 120 gallon â High-volume option. Needs multiple fixtures and stronger pumps. Best for serious propagation efforts or selling regularly.
If you’re starting out, a 40 breeder is the sweet spot. It’s forgiving on water volume, cheap to set up, and easy to sell if you upgrade later. A 75 or 120 only makes sense if you already have a line on buyers or plan to fragment large mother colonies immediately.
Shallow tanks (12-16 inches deep) are ideal because they let you use lower-power lights and still hit high PAR. Deeper tanks require more intense lighting, which drives up both upfront and running costs.
One practical tip: match your tank to a standard stand size. Custom stands add expense and complications. Check local classifieds for used tanks and stands before buying new.
Lighting a Frag Tank: Intensity, Spectrum, and Coverage
Lighting is the single most important equipment decision for a frag tank. Corals need specific PAR levels depending on type:
- Soft corals (mushrooms, zoas, leathers): 75-150 PAR
- LPS (torches, hammers, acans): 100-200 PAR
- SPS (acros, montiporas, stylophoras): 250-400+ PAR
Fixture types vary in coverage and control:
- T5s: Even spread, lower intensity per bulb. Best for softies and LPS. Bulbs need replacing every 9-12 months.
- LEDs: High intensity, programmable spectrum, dimmable. Great for SPS and high-light setups. Can create spotlighting if not spread properly.
- Hybrid (T5 + LED): Best coverage and intensity, but expensive. Only needed for large tanks or high-light SPS systems.
For a 40 breeder, a single LED fixture like a Radion XR30 or a more budget-friendly Noopsyche K7 will handle softies and LPS easily. For SPS, you might need two fixtures or a wider panel.
Common mistake: overlighting soft corals. Beginners often blast their frags with 300+ PAR and wonder why mushrooms bleach. Start low and ramp up slowly. Use a PAR meter or borrow one to check your actual numbers.
Dimming and ramp timers are worth the investment. They prevent shock to frags during acclimation and reduce heat buildup in the tank. Most modern LED fixtures include these features.
Water Flow: Creating Laminar and Turbulent Zones
Flow in a frag tank is about two things: preventing dead spots and promoting uniform growth. In a display tank, you can hide low-flow zones behind rockwork. In a frag tank, bare bottom and egg crate mean any dead spot collects detritus and slows coral growth.
Types of pumps and their uses:
- Wave makers: Generate alternating currents. Good for creating laminar flow zones near the surface for SPS.
- Powerheads: Can be positioned to create turbulent, random flow for LPS and softies.
- Return pumps on manifolds: Most controlled option. Use inline valves to adjust flow to different parts of the tank.
Recommend flow rates based on coral type:
- Soft corals: 10-20x turnover per hour
- LPS: 20-30x turnover
- SPS: 30-50x turnover
For a 40 breeder, one Jebao OW-10 or a pair of smaller pumps like Sicce Voyagers will give you the control you need. Beginners may want to start with an affordable powerhead and adjust as they learn the flow preferences of their corals.
Common mistake: too much direct flow on small frags. A frag barely attached to a plug can get knocked loose or stressed by high current. Start frags in a lower-flow area and increase flow as they encrust.
If you’re handy, building a manifold off your return pump gives you granular control without buying multiple powerheads. It’s a one-time investment that pays off in flexibility.

Filtration and Water Quality for Propagation
Stable water chemistry is non-negotiable for coral propagation. Frags grow fast when parameters stay consistent. Fluctuations cause stress, slow growth, and often lead to tissue loss.
Essential filtration components:
- Protein skimmer: Removes organic waste before it breaks down into nitrates and phosphates. Size for tank volume plus 20% overcapacity.
- Mechanical filtration (filter socks): Catch particulate waste. Clean or replace every few days to avoid nitrate buildup.
- Refugium: A dedicated area for macroalgae to export nutrients. Helps keep nitrates and phosphates low without heavy dosing.
- Biological media: Ceramic rings, bio balls, or live rock for nitrifying bacteria. Bare bottom systems need more biological media than sand-bed tanks.
Target parameters for propagation:
- Alkalinity: 8-11 dKH (stable within 0.5 per day)
- Calcium: 400-450 ppm
- Magnesium: 1300-1400 ppm
- Nitrate: 2-10 ppm
- Phosphate: 0.03-0.10 ppm
Dosing options range from manual daily dosing to automated dosers. For a small frag tank, manual dosing with two-part solutions works fine. For larger systems or if you travel, an automated doser saves headaches. Travelers who need consistency might consider an automatic doser.
RODI water is mandatory. Tap water varies widely by location and typically contains phosphates, silicates, or metals that wreak havoc on coral health. A basic RODI unit costs $80-$150 and pays for itself in avoided problems.
One local note: if you’re on well water or city water with heavy chloramines, your RODI filter will exhaust faster. Expect to replace sediment and carbon blocks every 3-6 months instead of 6-12.
Heating and Temperature Control
Corals like stability. Temperature swings of more than 2-3 degrees per day slow growth and can cause bleaching. Keep your frag tank at 78-80°F.
Heater wattage rule of thumb: 3-5 watts per gallon. For a 40 breeder, a 200-watt heater is a good start. But redundancy matters. Use two smaller heaters (e.g., two 100-watt) instead of one large one. If one fails off, the other keeps temperature from dropping too fast. If one fails on, the risk of overheating is lower than with a single large heater.
Common mistake: temperature swings during water changes. If you store mixed saltwater at room temperature, it can be 10 degrees colder than tank water. Always heat the new water to within 1-2 degrees before adding it.
A reliable digital thermometer with an alarm adds peace of mind for about $20. It’s worth the investment, especially if your tank is in a basement or garage where ambient temperature varies.
Frag Racks, Plugs, and Mounting Strategies
Frag racks organize your corals and simplify maintenance. They come in several materials, but safe choices are acrylic, egg crate (light diffuser), and PVC. Avoid anything with exposed metal or unknown plastics.
Plug types:
- Ceramic plugs: Best for encrusting corals. Porous surface encourages growth.
- Plastic discs: Cheaper, easier to clean. Good for testing water quality or temporary holding.
- Standard frag plugs (1-inch): Universal size fits most racks. Buy in bulk from local stores or online.
Placement strategies:
- High-light (top of rack): SPS, high-light LPS like acans.
- Mid-light (middle shelf): Most LPS, softies like leathers.
- Low-light (bottom or shaded): Soft corals, low-light LPS like fungia.
Rack types and tradeoffs:
- Suspended racks (magnetic or suction cup): Keep frags off the sand bed, reducing algae and pest buildup. Best for cleanliness.
- Sand bed racks: Easier to access but collect detritus and can host flatworms. Only use if you clean them regularly.
Common mistake: overcrowding. It’s tempting to fill every slot, but tight spacing blocks flow and light to lower frags. Leave 1-2 inches between plugs for the first month, then adjust as corals grow.
Local sourcing tip: many aquarium stores sell egg crate sheets for a few dollars. Cut to size and add PVC legs for a custom rack that costs under $10.
Quarantine and Pest Management in a Frag System
One infected frag can wipe out weeks of growth. Quarantine isn’t optional in a propagation system. It’s the difference between steady expansion and constant setbacks.
Common pests to look for:
- Flatworms: Small brown or red worms that smother corals. Spread fast in warm, nutrient-rich tanks.
- Nudibranchs: Coral-eating sea slugs. Usually species-specific, so a montipora-eating nudi won’t touch your zoas, but can still devastate a colony.
- Red bugs: Tiny crustaceans that attack acroporas. Hard to spot until visible damage appears.
Effective dips:
- Coral Rx: Broad-spectrum dip for flatworms and nudibranchs. Use on all new arrivals.
- Revive: More aggressive. Good for SPS that show signs of pests. Follow instructions exactly to avoid tissue damage.
Simple quarantine protocol:
- Inspect every new frag under a bright light. Look for eggs, worms, or discoloration.
- Dip in Coral Rx for 5-10 minutes. Rinse in tank water.
- Place in a separate QT tank (even a 5-gallon with slow flow) for 7-14 days. Monitor for pest emergence.
- Dip again before moving to main frag tank.
Tradeoff: a 2-week QT feels slow when you’re eager to fill empty racks. But skipping it means risking a pest outbreak that sets you back months. Many local hobbyists who’ve lost a system to flatworms will tell you the same thing: QT is worth the delay.
Local knowledge: seasonal pest outbreaks happen. In colder months, when new shipments are less frequent, pest pressure is lower. Spring and summer, when hobbyists trade more, see higher incidence. Be extra vigilant during those times.

Frag Tank Setup Checklist: A Step-by-Step Sequence
Follow this order to avoid rookie mistakes:
- 1. Tank placement and stand leveling: Pick a spot that supports the weight. Level the stand with shims. No wobbles.
- 2. Plumbing and sump setup: Install bulkheads, connect hoses, and test for leaks with freshwater.
- 3. Add sand (optional) and rock: If using sand, rinse it first. Rock for biological filtration onlyâkeep it minimal.
- 4. Fill with RODI water and mix salt: Use a heater and powerhead to mix. Target 1.024-1.026 specific gravity.
- 5. Cycle using live rock or bottled bacteria: Dr. Tim’s or MicroBacter7 work. Expect 4-6 weeks for a full cycle.
- 6. Install and test equipment: Lights, pumps, heater, skimmer all running. Adjust flow and temperature over several days.
- 7. Add frags after cycle: Confirm ammonia and nitrite at 0, nitrate below 10 ppm. Start with hardy corals like zoas or mushroom.
Common Mistakes Beginners Make with Frag Tanks
These errors are predictable and avoidable. Each one slows growth, kills frags, or creates unnecessary work.
1. Using a display tank mindset. Too much rockwork blocks flow and creates dead zones. In a frag tank, rock is only for biological filtration.
2. Neglecting nutrient export. Frag tanks produce more waste because you’re feeding for growth. Without adequate skimming or a refugium, nitrates and phosphates spike, fueling algae and slowing coral growth. A reliable protein skimmer can make a huge difference here.
3. Insufficient flow. A single powerhead in a 40 breeder isn’t enough. Without alternating currents, detritus settles and corals in low-flow areas fail to encrust.
4. Poor water change scheduling. Skipping changes leads to parameter drift. Even with dosing, weekly 10-20% water changes are non-negotiable. They replenish trace elements and dilute pollutants.
5. Skipping quarantine. One infected frag can introduce flatworms or nudibranchs that spread before you notice. A 2-week QT costs time but saves months of recovery.
If you catch these early, recovery is quick. A month of consistent water changes, flow adjustment, and careful feeding usually brings things back. But ignoring them leads to algae blooms, coral loss, and frustration.
Budgeting Your Frag Tank Setup: Equipment Costs and Priorities
Setting up a frag tank doesn’t have to break the bank, but costs add up fast if you chase premium gear. Here’s a realistic breakdown:
Basic setup (40 breeder, softies and LPS): $500-$800
- Used tank and stand: $100-$200
- LED fixture (budget brand like Nicrew or Noopsyche): $80-$120
- Powerhead (Jebao or similar): $40-$60
- HOB skimmer: $60-$100
- Heater (two 100-watt): $30-$40
- Test kits (Alk, Ca, Mg, Nitrate, Phosphate): $100-$150
- RODI unit: $80-$150
- Rack, plugs, glue: $20-$40
Advanced setup (SPS focus, 75-120 gallons): $1,500-$3,000
- New tank and stand: $400-$800
- LED fixture (Radion or Kessil, 2-3 units): $600-$1,200
- Wavemaker (Vortech or Gyre): $200-$400
- In-sump skimmer: $200-$400
- Heater (titanium with controller): $100-$200
- Dosing pump: $200-$400
- Test kits (digital or high-quality): $200-$300
- RODI unit (higher capacity): $150-$250
Where to invest: lighting and water quality equipment. Cheap lights limit what you can grow. Cheap skimmers under-skim and cause parameter swings. Where to save: tank shape and stand. A standard 40B is fine. Airstone skimmers and Chinese knockoff wavemakers can work for softies but not high-demand SPS.
Check local classifieds for used gear. Many hobbyists sell entire setups when they upgrade or move. At a minimum, you can find pumps, heaters, and tanks for half retail price.
Next Steps: Growing and Selling Your First Frags
Once your tank is stable and frags are encrusting, it’s time to think about propagation. Wait until mother colonies are about 3-4 inches across before fragging. That allows enough tissue to heal quickly.
Simple propagation methods:
- Snapping: For branching corals like birdsnest or stylophora, snap a branch off with bone cutters. Frequent users may benefit from a quality pair of bone cutters for clean cuts.
- Band saw: For encrusting corals or thick LPS skeletons. Less stressful than bone cutters for dense tissue.
Local selling options vary by area. Facebook groups, local frag swaps, and consignment through local fish stores are common. Start with trades. Building relationships with other hobbyists gives you feedback on your setup and opens doors for selling later.
If you’re serious about making propagation a regular part of your hobby, we offer hands-on consultations and workshops for local hobbyists. Whether you need help cycling a new frag tank or setting up a dosing schedule, we can guide you through it. Reach out to schedule a session.