Introduction
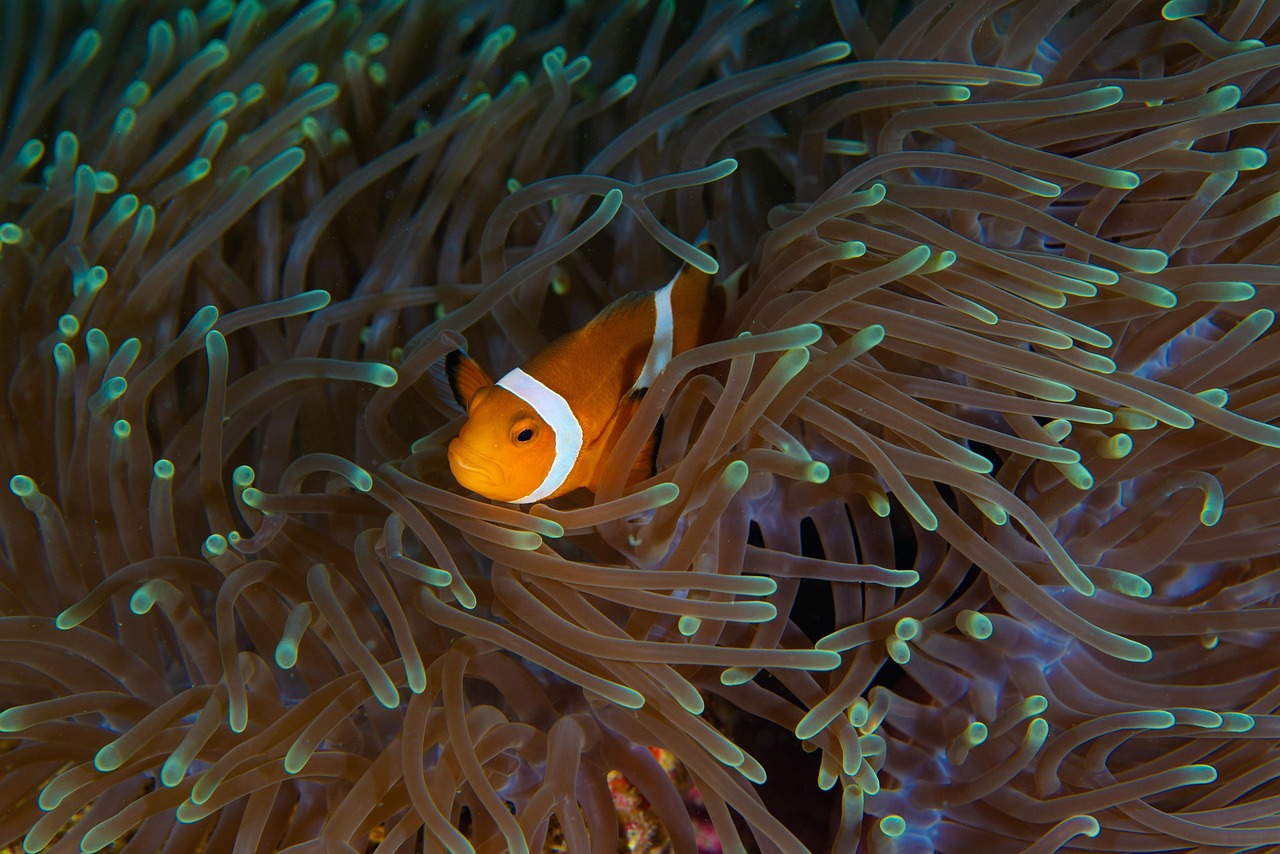
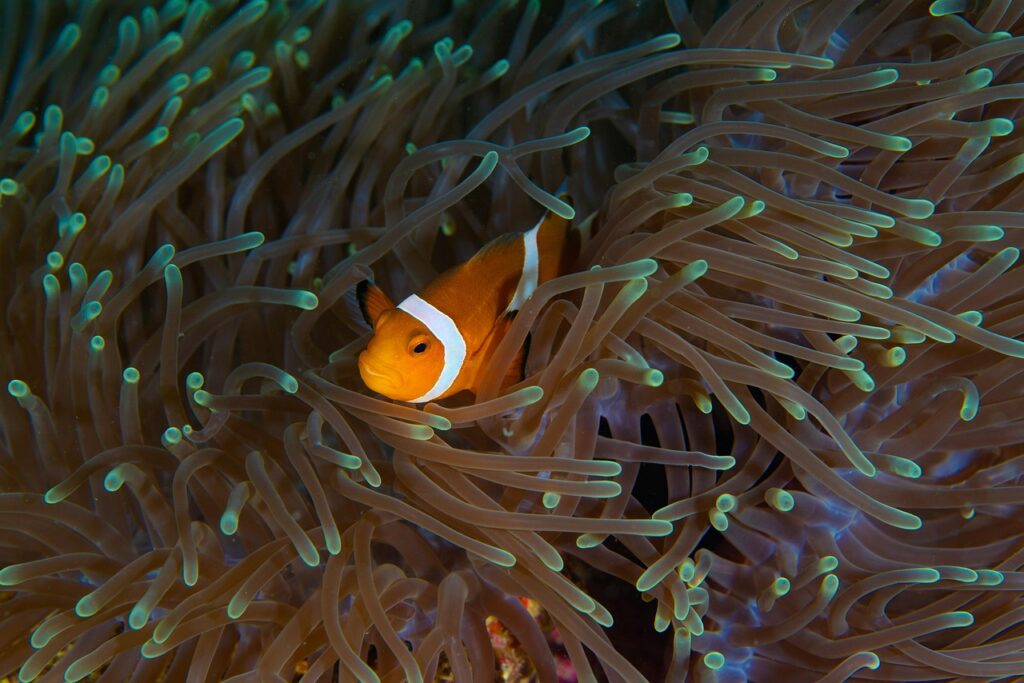
Breeding clownfish at home sounds harder than it actually is. Getting them to spawn isn’t about luck or some fancy additive. It’s really about having the right setup before the fish ever hit the water. This guide walks through a practical clownfish breeding tank setup, starting from nothing. Whether you’ve kept reefs for years and want a new challenge, or you’re coming from freshwater breeding, the principles are pretty consistent. A stable, intentional environment is what matters. This isn’t abstractâit’s based on what tends to work when you’re trying to get a pair of ocellaris or percula to spawn reliably.

Why Set Up a Dedicated Breeding Tank?
You can try breeding clownfish right in your main display. Some people do okay with it. But success rates aren’t as high, and it’s more hassle to manage. A separate breeding tank lets you control the details without bothering your other fish.
Main benefits are straightforward:
- Environmental control: You dial in temperature, salinity, and light cycle exactly for spawning.
- Pair bonding space: A dedicated tank gives a male and female their own space without other fish competing.
- Reduced stress: No aggressive tankmates. No worrying about corals. No trying to catch fish in a complicated aquascape.
- Higher fry survival: When eggs hatch, you can get to them easily for removal and rearing without tearing apart your display.
If you’re serious about raising healthy fry, a dedicated tank is worth the effort. It makes everything simpler and improves your odds. Beginners might want to start with a sponge filter rated for their tank size to keep the environment gentle for future fry.
What Size Tank Do You Need for Clownfish Breeding?
What size you need depends on what stage of breeding you’re at.
For a single breeding pair, 20 gallons is really the minimum practical size. A 30- or 40-gallon breeder is nicer. More water means more stable temperature and chemistry. Clownfish pairs don’t need a huge territory, but water stability matters more than floor space.
For hatching and raising the fry, you’ll want a separate smaller tank, something in the 10- to 20-gallon range. That’s where the larvae will spend their first few weeks. Keep it bare-bottomed and clean.
Here’s the tradeoff: a bigger breeding tank is easier to maintain because it absorbs mistakes. But it takes up more room and costs more to set up. A smaller tank fits tighter spaces and costs less, but you’ll need to stay on top of water changes and testing. If you’ve got the space, aim for at least 30 gallons for the pair. The extra stability is worth it.
Essential Equipment for Your Breeding Tank Setup
You don’t need a full reef system, just the right tools. Here’s what you’ll need:
- Sponge filter: Standard for breeding tanks. It provides gentle biological and mechanical filtration without sucking in eggs or tiny fry. The Hydro IV is a common choice.
- Heater with guard: A submersible heater rated for your tank volume. Add a heater guard to prevent burns and so eggs don’t get laid directly on the element.
- Lighting: Moderate LED or T5 lighting works fine. You don’t need high-output reef lights. Consistency matters. An automatic timer helps.
- Air stone or diffuser: A simple air stone from an air pump provides surface agitation and gas exchange. Keeps the water oxygenated when it’s warm.
- Tank lid or egg crate: Clownfish can jump, especially when startled. A tight lid or egg crate cover prevents escapes.
That’s the core. Skip the protein skimmer for the breeding tank. A sponge filter and regular water changes are plenty. Skimmers add noise and aren’t needed at this scale. For outfitting your tank, a submersible heater with a guard is a good choice to keep the pair safe.
Water Parameters: Getting It Right from the Start
Stable water parameters are the foundation. Big swings will delay spawning or stop it entirely. Aim for these targets:
- Temperature: 78â80°F (25.5â26.5°C)
- Salinity: 1.020â1.023 specific gravity
- pH: 8.1â8.3
- Ammonia: 0 ppm
- Nitrite: 0 ppm
- Nitrate: Below 20 ppm (lower is better)
Consistency is what really matters. Slightly off numbers that stay steady are better than perfect numbers that swing wildly. Cycle the tank completely before adding fish. That means introducing an ammonia source and letting the biological filter mature. Usually takes 4 to 6 weeks.
Get a reliable testing kit. If you’ll be testing often, a reef aquarium test kit covering all the key parameters is useful. Test weekly and keep a log. If you see a trend shifting, you can fix it before it becomes a real problem.

Setting Up the Breeding Tank: Step by Step
Here’s the practical order for setting up your clownfish breeding tank. Follow this to avoid redoing work.
- Place the tank on a level stand. Make sure it’s stable and can support the weight of water and equipment.
- Add substrate (or skip it). Bare bottom is strongly recommended. Easier to clean and prevents detritus buildup. If you really want sand, use a very thin layerâno more than half an inch.
- Install equipment. Mount the sponge filter, heater with guard, and air stone. Route tubing and cords neatly.
- Add water and salt. Mix saltwater to target salinity in a separate container before adding it to the tank. Premixing keeps salinity consistent.
- Cycle the tank. Add an ammonia source (pure ammonium chloride or a pinch of fish food) and let the biological filter develop. Test until ammonia and nitrite read zero.
- Add breeding surfaces. Place terracotta pots on their sides or PVC pipe sections in the tank. These become the spawning sites.
- Add a breeding pair. Introduce your selected pair. Give them a few days to settle before expecting any spawning.
A tip: place the terracotta pot on its side so it creates a cave-like structure. Clownfish feel secure laying eggs on the upper inside surface of a horizontal or angled surface.
Breeding Surfaces: Picking the Right Spot for Eggs
Clownfish are picky about where they lay eggs. Give them a good surface and they’ll use it over and over. The most common options:
- Terracotta pots: The gold standard. They’re porous, have texture, and are easy to replace or clean. Use unglazed, lead-free terracotta. Break or cut the pot so you have a flat tile or curved surface. A 4-inch pot half is ideal.
- PVC pipe sections: A short section of 3- or 4-inch PVC pipe, cut in half lengthwise, gives a smooth curved surface. Easy to clean and reusable. Sand the edges smooth.
- Ceramic tiles: Unglazed ceramic tiles work well. They’re flat, heavy, and easy to remove for egg inspection. Avoid glazed tiles unless you’re sure they’re lead-freeâsome glazes have heavy metals that can leach into the water.
Whichever you choose, put it in a quiet spot. Clownfish prefer laying eggs on a surface that’s slightly angled or vertical, not flat on the bottom.
Selecting a Compatible Breeding Pair
Getting a pair that actually spawns is half the battle. You have two main paths: buy a proven pair or condition your own.
A proven pair costs more but saves time. You know they’ve spawned before and likely will again. Look for pairs from online breeders or reputable local fish stores. Tank-raised pairs are often more reliable than wild-caught ones because they’re used to captive conditions.
If you want to pair your own fish, start with two juveniles about the same size. Over time, the larger one becomes the female, the smaller one the male. This can take several months. Signs of a bonded pair include them staying close together, the smaller fish following the larger one, and defending a chosen spot as their territory.
Don’t force a pairing. Introducing an adult male to an established female can turn aggressive or worse. Patience is key. Let the natural hierarchy develop.
Lighting and Photoperiod for Breeding Success
Lighting isn’t the most critical factor, but it does influence spawning. Clownfish aren’t deep-water fish. They’re used to moderate light levels in shallow lagoons and reefs.
Provide moderate lighting on a consistent schedule. An 8- to 10-hour photoperiod is standard. Use an automatic timer so lights turn on and off at the same time daily. This simulates natural day-night cycles and helps trigger spawning hormones.
You don’t need expensive reef LEDs. A basic LED strip or T5 fixture works. Keep the light level consistent. Don’t change the photoperiod or intensity often. Stability is what fish need to feel safe enough to breed. An aquarium LED light strip with a timer makes managing this easier.
Feeding Your Breeders for Peak Condition
Egg quality ties directly to diet. A well-fed pair spawns more often and produces healthier clutches. Feed a varied diet:
- High-quality pellets: A sinking pellet with high protein is a good staple. New Life Spectrum or Hikari are solid choices.
- Frozen foods: Mysis shrimp and enriched brine shrimp are favorites. They provide essential fatty acids and variety.
- Live foods: Occasionally offer live enriched brine shrimp or rotifers. Live foods stimulate feeding response and add natural enzymes.
- Supplements: Add something like Selcon to frozen foods a few times a week. It boosts omega-3s and helps egg development.
Feed your pair twice a day. Only offer what they can eat in a few minutes. Overfeeding fouls the water and causes nutrient spikes. A well-conditioned female will start looking plumpâa good sign she’s carrying eggs.
Common Mistakes in Clownfish Breeding Tank Setup
Even experienced hobbyists make these errors. Avoid them and your chances go way up.
- Overcrowding the tank: A breeding tank should have just the pair and maybe a few small, non-aggressive tankmates. Too many fish cause stress and competition.
- Unstable water parameters: Letting temperature or salinity drift is the fastest way to stop spawning. Test regularly and fix problems immediately.
- Poor egg surface choice: A surface too smooth, too rough, or toxic can prevent egg laying or kill eggs. Stick with terracotta or PVC.
- Not cycling the tank properly: Adding fish to an uncycled tank causes ammonia spikes that can kill or permanently stress your pair.
- Insufficient filtration: A sponge filter rated for your tank size is fine. But if you choose one too small, it won’t handle the bioload. Go one size up if unsure.
- Wrong pair dynamics: Forcing two fish together that aren’t compatible leads to bullying and no spawning. Let them pair naturally or buy a proven pair.
Recognize these early. They’re all avoidable with a little planning.

When to Expect Spawning and What to Do Next
Don’t expect eggs the day after setup. It can take weeks or months for a pair to start spawning. It depends on how conditioned the fish are and how stable the environment is.
Once a pair is ready, the female lays a cluster of orange eggs on the breeding surface. The male fertilizes them. Both parents tend the eggs, fanning them and picking off any that die or get fungus.
Eggs hatch after about 6 to 8 days, depending on temperature. When they’re close to hatching (you can see the fry’s eyes through the egg), you have a choice: leave them to hatch in the breeding tank and move them afterward, or remove the egg surface to a separate hatching tank. Most experienced breeders remove the surface and put it in a small, dark container with gentle aeration for hatching.
Raising the fry is a separate topicâneeds rotifers, green water, and specific feeding schedules. That’s for another article. For now, focus on getting a healthy clutch first.
Breeding Tank Maintenance: Keeping Conditions Stable
Once your pair starts spawning, maintenance becomes even more important. A consistent routine keeps water quality high and encourages continuous spawning.
- Weekly water changes: Change 10-20% of the water every week. Use pre-mixed saltwater at the same temperature and salinity.
- Clean the sponge filter: Rinse the sponge in old tank water (never tap water) once a month or when flow slows down.
- Test parameters weekly: Check temperature, salinity, pH, ammonia, nitrite, and nitrate. Log results. Watch for trends.
- Check equipment: Make sure the heater, air pump, and lights all work. Replace worn parts before they fail.
Simple, consistent maintenance is the secret to long-term breeding success. Not glamorous, but it works.
Final Thoughts: Start Simple and Scale Up
Setting up a clownfish breeding tank doesn’t need a lab or thousands of dollars. It needs a deliberate approach: a properly sized tank, stable water, the right equipment, and a compatible pair. Focus on those basics first.
Once you have a pair spawning regularly, you can try more advanced techniques like selective breeding or raising multiple clutches. But start simple. Get one pair spawning successfully before expanding. That first healthy clutch of eggs will be the best motivation to keep going.
If you’re ready for the next step, look at the gear mentioned here to set yourself up. A reliable sponge filter, a good heater, and a quality testing kit are the tools that turn a decent setup into a productive one.