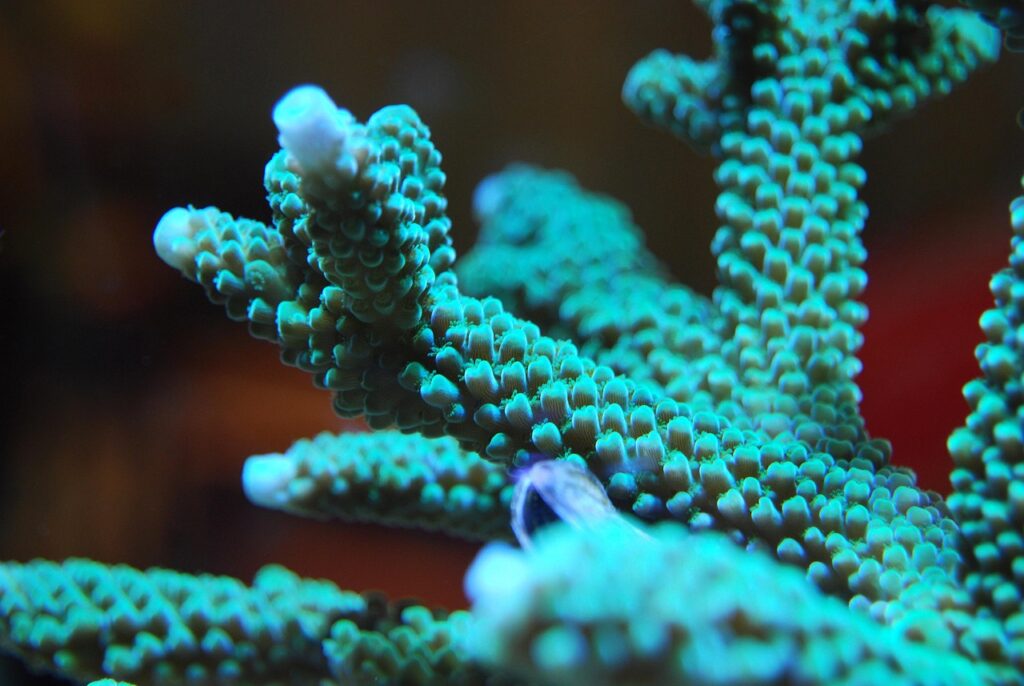
Understanding Coral Diseases: A Practical Guide for Aquarium Hobbyists
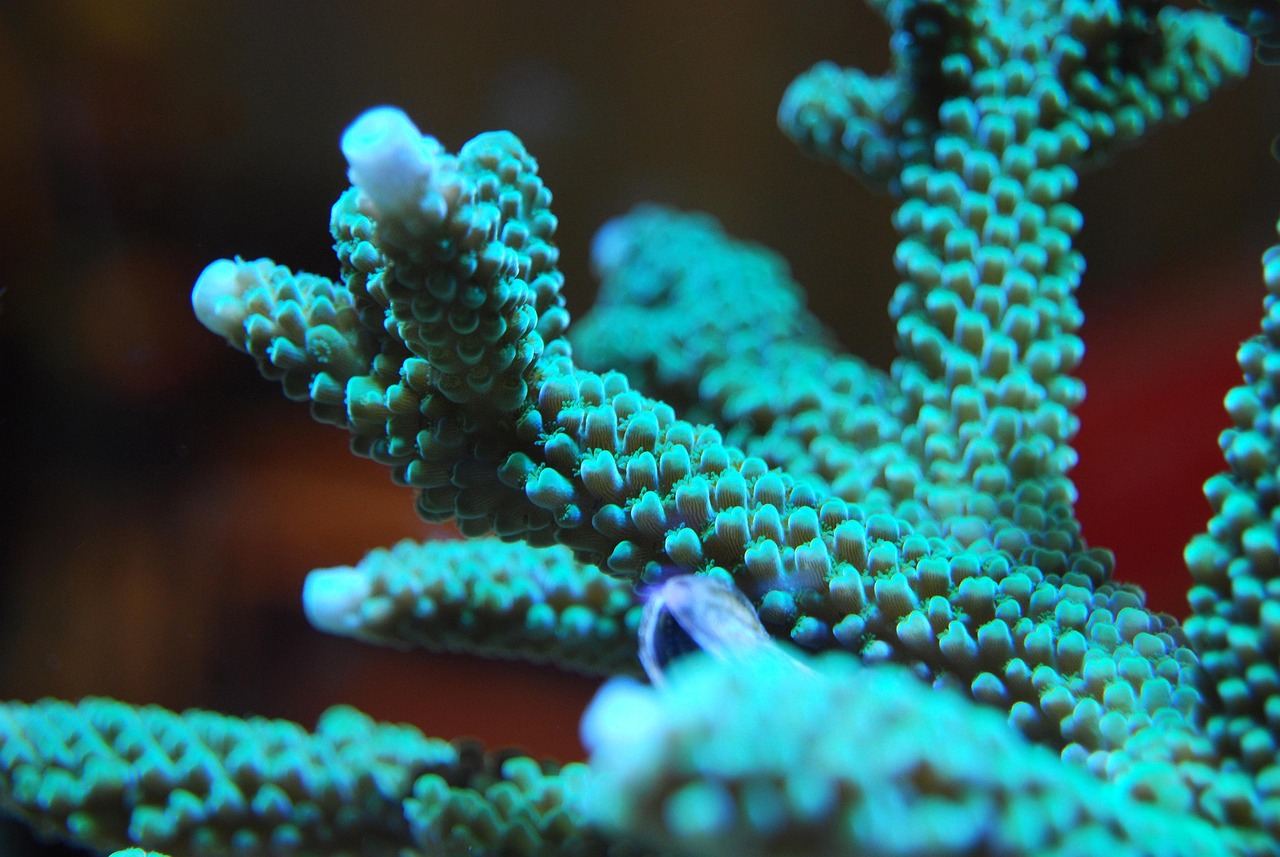
If youâre serious about keeping a healthy reef tank, understanding coral disease types treatment is something you canât skip. Iâve watched too many hobbyists lose expensive colonies because they mistook rapid tissue necrosis (RTN) for simple bleaching or waited too long to act. This article covers how to identify the most common coral diseasesâRTN, STN, brown jelly, black band, and moreâand walks you through the actual treatment options that work. This isnât about panic. Itâs about giving you the practical, experience-based knowledge to diagnose problems early, choose the right treatment, and save your corals without wasting money on the wrong products. Quick diagnosis and the right tools keep your tank stable and your wallet intact.

Why Coral Diseases Matter for Aquarium Hobbyists
Letâs be real: coral diseases are the fastest way to drain your enthusiasm and your bank account. A single infected frag can nuke your entire system if left unchecked. Iâve seen tanks crash because someone thought âitâll probably heal on its ownâ while necrosis crept across a prized acropora. The reality is that early identification saves you time, money, and the heartbreak of losing a colony youâve babied for months. Treatment products arenât cheap, and not all of them work for every issue. Prevention is always better than cure, but when youâre already dealing with sick corals, you need a straightforward plan. This isnât about fearmongeringâitâs about being prepared. A few extra minutes checking your parameters or doing a dip can mean the difference between saving a $100 coral and buying a replacement.
Common Coral Disease Types You Should Know
Knowing what youâre looking at is half the battle. Here are the coral diseases youâll most likely encounter and how to spot them before they get ugly.
Rapid Tissue Necrosis (RTN)
This one moves fast. Within hours, healthy tissue peels away from the skeleton, leaving bare white bone. RTN is typically caused by bacterial infections, often triggered by stress from shipping, temperature swings, or poor water quality. SPS corals like acropora, montipora, and stylophora are especially vulnerable. If you see tissue sloughing off like wet paper, act immediately. Donât wait to âsee what happens tomorrow.â
Slow Tissue Necrosis (STN)
STN is the slower, more insidious cousin. Tissue recedes gradually over days or weeks, often starting from the base or tips. Causes are similar to RTN but may also include pests like flatworms or nudibranchs. LPS corals like torches, hammers, and favias can get STN, though SPS are still the main victims. The slower pace gives you time to diagnose, but donât mistake that for âitâs not serious.â
Brown Jelly Disease
Exactly what it sounds like: a brown, gelatinous slime that coats infected tissue. Itâs actually a protozoan infection that often follows physical damageâlike a bad frag cut or a fish bite. LPS corals, especially euphyllia (torches and hammers), are prime targets. If you see brown jelly, isolate the coral and prepare a dip. It doesnât spread as fast as RTN, but itâs stubborn and kills tissue efficiently.
Black Band Disease
Look for a dark, purple-black band creeping across the coralâs surface. This is a complex microbial consortium that attacks the tissue and leaves a clean white skeleton behind. Itâs more common in wild colonies and older aquariums with elevated nutrients. Certain SPS and some large-polyp stony corals are susceptible. Black band is tough to treat because the infection is deep, so early detection is critical.
White Band Disease
Similar to black band but with a white band of degrading tissue. It mainly affects branching corals like acropora and pocillopora. Causes arenât fully pinned down, but itâs linked to bacterial infection and environmental stress. Donât confuse it with simple bleachingâwith white band, the tissue literally sloughs off, leaving a clean skeleton.
Coral Bleaching
Bleaching isnât a disease per se, but itâs worth mentioning because many hobbyists mistake it for one. Corals expel their symbiotic algae (zooxanthellae) due to heat, light stress, or chemical imbalance, turning pale or white. Unlike necrosis, the tissue remains intact. If you address the stressor quickly, corals can recover. But prolonged bleaching opens the door to real diseases.
Diagnosing Coral Disease: A Step-by-Step Approach
Before you reach for any treatment, you need to be sure what youâre dealing with. Hereâs a methodical process that works every time.
Step 1: Isolate the affected coral if possible. Move it to a quarantine tank or a low-flow area in your display to prevent spread. This gives you time to diagnose without risking your whole system.
Step 2: Examine color and tissue changes. Look for discoloration, peeling, slime, or banding. Take a photo and compare it to disease charts or online guides. Visual identification is your first clue.
Step 3: Check water parameters. Test ammonia, nitrates, nitrites, pH, alkalinity, calcium, and magnesium. Most diseases thrive when parameters are unstable. A spike in ammonia or a sudden alkalinity drop can trigger RTN. Write down your numbersâyour memory will fail you.
Step 4: Look for pests. Examine the coral closely, especially at night when flatworms and nudibranchs are active. Use a magnifying glass if needed. A pest infestation can look exactly like a bacterial disease.
Step 5: Compare to references. Use trusted online coral disease databases or reefing forums. Donât rely on a single source. If the symptoms are ambiguous, assume the worst and isolate immediately.
Common mistake to avoid: Donât medicate before youâve identified the root cause. Throwing random dips or antibiotics at a fish-injured acropora wonât fix the physical damageâitâll just stress it further. Test first, treat second.
Coral Disease Treatment Options: What Actually Works
There are three main ways to treat coral diseases: dips, physical removal, and medications. Each has its place. Hereâs what Iâve used and what Iâd recommend based on the situation.
Dips
Dips are your first line of defense for surface infections like brown jelly or minor bacterial issues. Common options include iodine-based dips, hydrogen peroxide dips (a 10-15 second dip in 3% peroxide works for some infections), and commercial dips like Coral Rx or Seachem Reef Dip. These kill free-floating bacteria, protozoans, and some external parasites.
Best for: Early-stage brown jelly, minor STN, or after a physical wound. Dips are gentle enough for most LPS and soft corals but can stress SPS, so limit exposure to 5-10 minutes.
Pros: Easy to use, quick, and relatively cheap. A bottle of Seachem Reef Dip costs under $20 and lasts through multiple treatments.
Cons: Wonât penetrate deep tissue infections like black band. They can also strip the coralâs slime coat if used too often.
Product link: Seachem Reef Dip
Physical Removal
When a section of coral is clearly dead or necrotic, cutting it away with bone cutters can stop the infection from spreading. This is especially effective for RTN and STN where the infection is localized. Use sterile, sharp cuttersâdirty blades spread bacteria. Iâve saved many acropora colonies by cutting off dead branches an inch below the visible tissue line.
Best for: Localized necrosis on large colonies, especially SPS. Also essential for removing infected heads on LPS colonies.
Pros: Immediate removal of infected tissue. No chemicals involved. Leaves a clean wound that heals faster.
Cons: You lose coral mass. If you cut too close to the infection, it can keep spreading. Leaves scars that may take months to grow over.
Product link: Bone Cutters
Medications
For stubborn bacterial infections that resist dips and cutting, medications can be a last resort. Antibiotics like ciprofloxacin or erythromycin (found in Furan-2) can treat some bacterial diseases. But this is a serious stepâmisuse can crash your biological filter and harm beneficial bacteria.
Best for: Severe black band disease, RTN that keeps spreading after cutting, and cases where the coral is on the brink of death.
Pros: Can target specific bacteria strains when nothing else works.
Cons: Risky. Needs a separate quarantine tank. You must follow strict dosing protocols. Some antibiotics are prescription-only in certain countries. Overuse can create resistant bacteria strains.
Product link: Furan-2
Best for Decision Table
- Early brown jelly â Dip with iodine or hydrogen peroxide.
- Localized STN on an SPS colony â Remove infected branches with bone cutters.
- Black band disease (deep) â Medication in a quarantine tank.
- Widespread RTN (rapid) â Cut away dead tissue, dip the rest, and isolate.
- Minor tissue damage from fish â Dip to prevent secondary infection.
Water Test Kits
You cannot treat diseases if your water is out of whack. A reliable test kit like the API Reef Master Test Kit or Salifert kits gives you accurate readings. Calibrate your refractometer weekly. Iâve seen âdisease outbreaksâ that turned out to be undetectable ammonia spikes from a dead snail.
Product link: API Reef Master Test Kit

When to Use a Coral Dip vs. Manual Removal
Youâre looking at a sick coral and wondering: dip or cut? Hereâs a practical breakdown.
Use a coral dip when: The problem is widespread on the surface, like brown jelly covering multiple heads or a general bacterial film on the entire colony. Dips are also your go-to if you canât tell where the infection starts or if the coral is too small to cut safely.
Use manual removal when: The disease is clearly localizedâa single dead branch, a single infected head on a torch, or a patch of necrosis with a distinct boundary. Cutting removes the problem entirely rather than hoping a dip kills it.
The tradeoff: Dipping stresses corals and may not penetrate deep infections. Manual removal guarantees the infected tissue is gone, but you lose coral mass and create a wound that might get infected again. In my experience, for RTN, always cut first and dip second. For brown jelly on LPS, start with a dip.
When both fail: If the disease keeps coming back, youâre dealing with a systemic issueâcheck water stability and pests before trying again. Sometimes a coral is just weak and wonât recover regardless of treatment.
Medication for Coral Disease: Antibiotics and Beyond
If youâve tried dips and cutting without results, medication is your last tool. But treat this like a nuclear option. Antibiotics such as ciprofloxacin, erythromycin (available in Furan-2), or kanamycin can kill the bacteria causing RTN or black band. However, theyâre not reef-safe in display tanksâthey kill beneficial bacteria too. Always use a separate quarantine tank.
Common medication protocols:
- Furan-2 (contains nitrofurazone) â Good for mild bacterial infections. Use at half the recommended dose for corals.
- Erythromycin (powder form) â Effective against some RTN-causing bacteria. Dose at 2-4 mg per liter in quarantine water.
- Ciprofloxacin (500 mg tablets) â Strong broad-spectrum antibiotic for severe infections. Use extremely cautiously (1 tablet per 20 gallons in quarantine). Some countries require a prescription.
Common mistake: Overdosing is the #1 error. Iâve seen hobbyists dump an entire container of Furan-2 into a small quarantine tank, killing the coral faster than the disease. Always start with half the recommended dose and observe for 24 hours. Overdosing also nukes your biological filter, so the coral faces a new stressor while already sick.
Important warning: Antibiotics in aquariums have environmental and legal implications. Many are not approved for aquarium use. Research your local regulations. I only recommend them for corals that have a good chance of recovery and when no other option works. If youâre treating a common zoanthid or soft coral, just toss itâantibiotics arenât worth it for a $20 frag.
Product links: Furan-2 | Ciprofloxacin (verify legality)
Setting Up a Coral Quarantine Tank Before Treatment
You shouldnât treat sick corals in your main display unless you want the disease to spread. A simple quarantine system is cheap and effective. Hereâs what you need:
- A small tank (5-10 gallons) â A basic glass or acrylic aquarium from any pet store. Under $30.
- A heater â An adjustable 50W heater ensures stable temp around 78°F. Heater
- A small powerhead or sponge filter â For water circulation and basic filtration. No need for a sump. Sponge Filter
- An algae light â A simple LED light to keep photosynthetic corals alive during treatment. Nothing fancy. Clip-on Light
- Test kits â API Master Test Kit or similar to monitor ammonia and pH.
You can set this entire system up for under $100. I keep one in my garage for emergencies. Itâs saved countless corals over the years because I can act immediately without contaminating my display. Donât skip this if youâre serious about keeping high-value corals.
One logistics note: start cycling your quarantine tank with a piece of sponge from your main filter. Thatâs free and saves you weeks of cycling time. Without cycled media, the stress of ammonia will kill your sick coral faster than the disease.
Preventing Coral Disease in Your Reef Tank
The best treatment is the one you never need. Hereâs how to stack the odds in your favor:
- Quarantine new corals for 4-6 weeks â Before adding to your display. This alone prevents most disease outbreaks. Refer to the previous section for setup.
- Maintain stable water parameters â Do weekly water changes of 10% with matching temperature and salinity. Sudden swings trigger RTN faster than anything else. Keep alkalinity between 8-10 dKH, calcium 400-450 ppm, and temperature within 1°F daily variation.
- Feed properly â Avoid overfeeding, which spikes nitrates and phosphates. High nutrients donât cause diseases directly but weaken corals. A few frozen shrimp pieces every other day for most tanks is plenty.
- Avoid temperature spikes â Keep your tank below 82°F in summer. Use a chiller if needed. Bleaching from heat stress is a gateway to infection.
- Inspect tools and hands â Always wash your hands and sterilize netting before moving between tanks. Flatworms and pests hitchhike on wet hands.
Do these consistently, and your disease treatment budget will mostly gather dust.
Must-Have Gear for Treating Coral Disease at Home
Hereâs the gear I keep in my coral rescue kit, ready to grab when something goes wrong. These are practical, proven tools.
- Bone Cutters â Essential for cutting affected branches and heads on LPS like torches. I have two pairs: one cheap pair for rough cuts and a better pair for precise work. Bone Cutters
- Rubbermaid Container (2-3 gallon) â Perfect for mixing dips or as a temporary isolation tub. Inexpensive and easy to clean. Rubbermaid Container
- Iodine Dip (standard solution) â Seachem Reef Dip or any iodine-based dip. Best for surface bacteria and protozoans. Seachem Reef Dip
- Commercial Reef Dip â Coral Rx or similar. Gentle for sensitive corals and good as a second opinion dip. Coral Rx
- Turkey Baster â For precisely applying treatment mixtures or sucking off brown jelly. Cheap and reusable. Turkey Baster
- Water Test Kits â API Reef Master Test Kit for basic parameters, plus a refractometer for salinity. Donât trust your eyesâtest religiously. API Reef Master Test Kit
- Quarantine Tank Starter Kit â A 5-gallon tank, heater, sponge filter, and light as described earlier. Total cost under $100. 5-gallon Aquarium Starter Kit
This isnât an exhaustive list, but these items cover 90% of disease scenarios. Bone cutters are non-negotiable; the rest you can build up over time.

Common Mistakes When Treating Coral Disease
Learned the hard way: these are the errors that cost me corals early on.
- Mistake 1: Not identifying the disease before treating. You canât fix what you donât understand. Throwing iodine dip at a bacterial infection is fine, but dips wonât touch pests or deep tissue disease. Always look up symptoms first.
- Mistake 2: Using too much medication. More isnât better. It shocks the coral and kills beneficial bacteria. Follow label instructions exactly, or start at half dose.
- Mistake 3: Treating in the display tank without isolation. Youâre just feeding the infection. Dip or medicate in quarantine or risk losing everything.
- Mistake 4: Skipping water parameter checks. You can dip and cut all day, but if your ammonia is 0.5 ppm or your alkalinity is 6 dKh, the coralâs stress wonât stop. Check water before doing anything.
- Mistake 5: Waiting too long to act. âIâll see if it improves tomorrowâ is the mantra of dead corals. If you suspect disease, isolate and treat within hours, not days. A 24-hour wait can turn a salvageable RTN case into a skeleton.
When to Seek Professional Help or Replace a Coral
Not all corals are worth saving. Iâve scraped dead tissue off a coral Iâd nursed for a year, and it sucks. But sometimes the honest decision is to cut your losses.
When to let it go: If the coral has lost 80% or more of its tissue, the infection has reached deep into the skeleton, or you see a distinct black band that covers more than half the colony. Pests that have been there for weeks causing slow tissue loss? Probably not worth treatingâthe coral is already compromised.
The cost reality: Spending $50 on medication and risking your tankâs health for a $20 frag makes no sense. Replace it. For higher-value corals like deep-water acropora or rare LPS, a $50 antibiotic treatment might be justified if you follow quarantine protocols. But donât get emotionally attached to an investment if the numbers donât add up.
If the coral is a unique specimen or part of a breeding project, consider contacting a local reef club or a marine biologist. Sometimes a fresh perspective or shared knowledge saves you.