How to Start a Reef Conservation Project in Your Community
Thinking about starting a reef conservation project in your community? You’re not alone. Every year, more dive clubs, schools, and local groups decide they want to do something about the state of their local reefs. But wanting to help isn’t enough. A poorly planned project can waste time, burn out volunteers, and in some cases, actually damage the reef further. That’s why this guide exists. Whether you’re a dive instructor, a concerned citizen, or a community leader, you’ll learn how to start reef conservation project efforts that actually work. We’ll skip the hype and focus on the practical steps that separate successful projects from those that fizzle out after three months.

Step 1: Define Your Project Scope
Before you do anything else, decide what kind of project you’re actually running. This is where most beginners trip up—they try to do everything at once and end up doing nothing well.
The main types of community reef projects include:
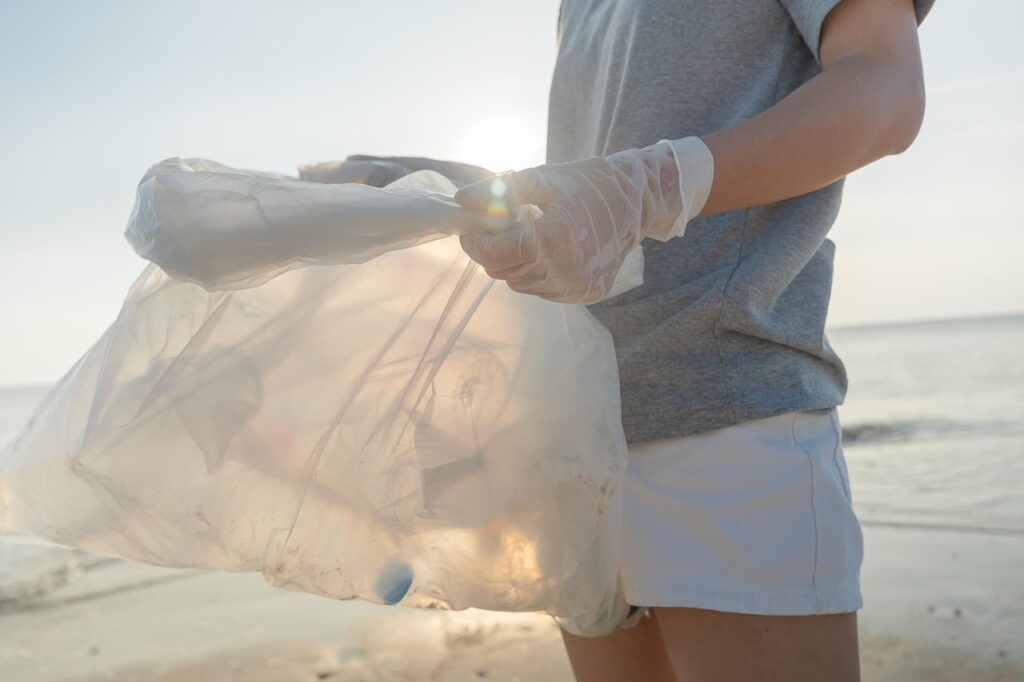
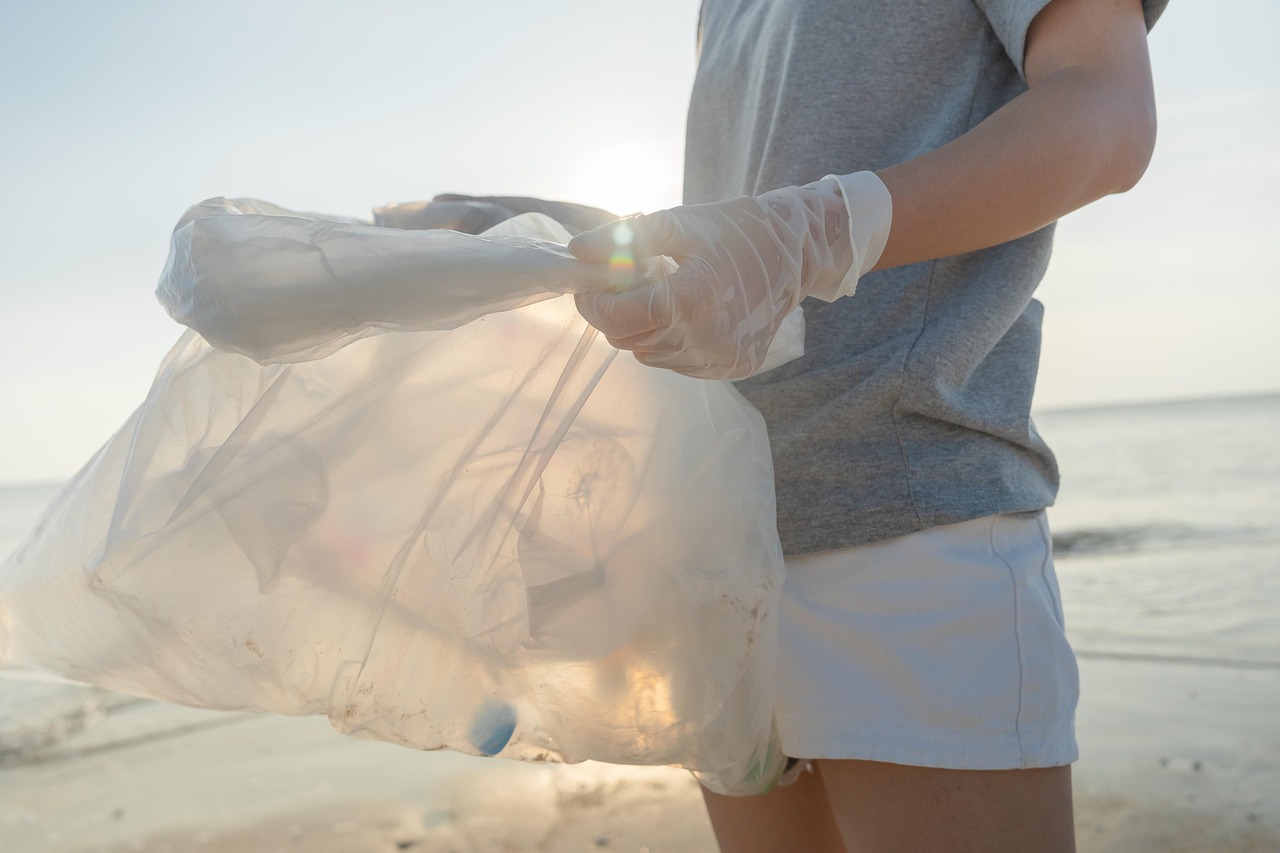
- Beach cleanups – low skill, high impact, great for involving families and schools
- Coral nurseries – requires permits, dive training, and long-term commitment
- Citizen science surveys – collecting data on reef health, fish populations, or water quality
- Restoration dives – outplanting corals or removing invasive species
- Education programs – teaching locals and tourists about reef-friendly practices
Each type has tradeoffs. Beach cleanups are easy to organize but don’t address the root causes of reef decline. Coral nurseries are more impactful but take years to show results. Citizen science is excellent for building a data baseline but requires training volunteers to collect reliable information.
Pick one clear goal for your first six months. That might be “remove 500 pounds of debris from Bluff Beach” or “train 20 volunteers to conduct reef surveys.” Write it down. This single goal will guide every decision you make.
Step 2: Find and Partner with Local Organizations
Don’t try to do this alone. It’s tempting to think a small group of motivated people can handle everything, but partnerships are what turn a hobby project into something that lasts.
Who should you reach out to?
- Universities and marine labs – they have scientists, equipment, and grant connections
- Marine protected area managers – they control permits and know the regulations
- Local NGOs – they have existing networks and community trust
- Dive shops – they have gear, boats, and customers who care about the ocean
- Government agencies – fisheries departments and environmental agencies can provide legitimacy
When you approach them, have a one-page plan ready. State your goal, the area you’re targeting, what you need from them, and what you’re offering in return. Larger organizations often offer expertise and resources but move slowly. Smaller groups are more flexible but might not have the same reach. Find the balance that fits your project timeline.
One underrated resource is your local aquarium society or marine hobbyist club. These groups often have members with hands-on experience maintaining water quality and coral health—skills that translate directly to field work.
Step 3: Secure Funding and Supplies
Money is a reality. Some projects run on a few hundred dollars from bake sales and dive shop donations. Others need several thousand for permits, gear, and data analysis. Where the money comes from shapes how the project operates.
Funding sources to consider:
- Grants – look for small community grants from foundations focused on marine conservation
- Crowdfunding – platforms like GoFundMe work well when you have a clear, tangible goal
- Local business sponsorships – dive shops, eco-tour operators, and beachfront hotels often sponsor projects they can use in their marketing
- In-kind donations – sometimes gear, boat time, or lab space is easier to get than cash
For supplies, you’ll need items like underwater cameras for photo monitoring, data sheets (waterproof notebooks save you from soggy paper), GPS tags for marking coral fragments, buckets and mesh bags for debris collection, gloves, and dive equipment if you’re going underwater. A high-quality pH test kit or a Secchi disk for water clarity measurements are smart investments if you’re collecting data.
When asking for donations, in-kind gear often has fewer strings attached than cash. A local hardware store might donate buckets and gloves without blinking, while a grant might require quarterly reports. Plan accordingly.
Budget for at least these five categories: permits, gear, transportation, volunteer training materials, and data analysis or reporting.

Step 4: Recruit and Train Volunteers
Volunteers are the backbone of community projects, but untrained volunteers can do real damage. Standing on corals, stirring up sediment, mishandling marine life—these are all avoidable problems that beginners make.
Where to find volunteers:
- Local dive clubs and spearfishing groups
- High school and college environmental clubs
- Social media groups for local outdoor enthusiasts
- Community bulletin boards at dive shops and marine parks
The tradeoff is real: trained volunteers produce reliable data and work safely, but training takes time and resources. A good approach is to run a single training day that covers basic reef etiquette, species identification, and proper data collection methods. Volunteers who need to record observations underwater may find waterproof underwater slates helpful for keeping notes legible.
Sample training schedule for a citizen science project:
- Morning session (2 hours): classroom basics on reef ecology, safety, and survey methods
- Midday session (1 hour): gear check and snorkel safety
- Afternoon session (2 hours): supervised practice in shallow water
- Evening debrief: review common mistakes, answer questions, assign roles for the next event
One mistake beginners make is overcrowding a site with untrained people. It stresses the reef, increases accidental damage, and makes data collection unreliable. Start with a small, skilled team and expand as you build capacity.
Choosing the Right Location for Your Project
Not every stretch of reef is a good candidate for a community project. Site selection is one of the most overlooked factors, and it directly affects your success rate.
Key factors to evaluate:
- Accessibility – can you get there without a boat? Is there parking? Is the site safe for volunteers of varying swimming ability?
- Existing damage levels – a completely destroyed reef might not recover, while a healthy reef might not need intervention. The sweet spot is a moderately damaged reef with good water quality and natural recruitment potential.
- Legal permissions – many reefs are in protected areas or require permits for any form of intervention. Check with local marine authorities before you do anything.
- Community support – do local residents and businesses want the project? Projects that feel imposed from outside rarely last.
Compare a high-impact site (badly damaged, easily accessible, high community visibility) against a low-risk site (healthy, remote, low human traffic). The high-impact site will generate more enthusiasm and funding opportunities, but it’s riskier because failure is more visible. The low-risk site gives you a safer learning environment but might not attract the same level of support.
Make your decision based on your team’s experience level. Beginners should start with a low-risk site and expand to higher-impact areas as skills grow.
| Factor | High-Impact Site | Low-Risk Site |
|---|---|---|
| Damage level | High | Low to moderate |
| Accessibility | Easy | Moderate |
| Community visibility | High | Low |
| Funding appeal | High | Low |
| Permit difficulty | Potentially high | Potentially low |
| Learning curve | Steeper | Gentler |
Essential Tools and Gear for Community Projects
Having the right gear is about efficiency, not status. You don’t need the most expensive underwater camera, but you do need tools that survive saltwater and repeated use.
Core gear list:
- Underwater slates or waterproof notebooks for recording observations underwater
- Secchi disk for measuring water clarity (a key indicator of reef health)
- pH test kits for monitoring water chemistry changes near outplant sites
- Mesh bags for collecting marine debris during cleanups
- Dive flags for marking your work area to keep boat traffic away
- First aid kits designed for marine environments (include supplies for coral cuts and stingray punctures)
- Reef-safe sunscreen – regular sunscreen contains chemicals that bleach corals. If you’re entering the water, use mineral-based options. For teams spending long days on the water, a bulk pack of reef-safe sunscreen makes it easy to keep everyone protected without harming the reef.
- Gloves for debris handling, preferably cut-resistant
When choosing between budget-friendly and professional-grade options, think about frequency of use. A $50 waterproof notebook will last years for a team of five volunteers. A $20 one might leak after three uses. For items like pH test kits, spending a bit more for calibrated accuracy pays off in data reliability.
Don’t overlook safety gear. Cut-resistant gloves, sturdy footwear for slippery rocks, and a properly stocked first aid kit are non-negotiable. One volunteer getting injured on your watch can derail the entire project.
Five Common Mistakes When Starting a Conservation Project
Learning from others’ mistakes saves time and frustration. Here are the five I see most often.
1. No clear goal. Without a specific outcome, you’ll drift between activities and burn out your team. Fix: write a single measurable goal for your first year.
2. Doing it alone. Lone wolves rarely sustain projects past the first season. Partners bring skills, funding, and accountability. Fix: identify three partner organizations before launching.
3. Ignoring permits. Running a project without the right permissions can get you fined or shut down. It also erodes trust with authorities you’ll need later. Fix: spend a month researching permit requirements before anything else.
4. Overpromising results. Telling funders or the community you’ll “restore the whole reef in a year” sets impossible expectations. Real restoration is slow. Fix: underpromise and overdeliver. Frame success in terms of learning, data collection, and incremental progress.
5. Neglecting data collection. If you don’t measure what you’re doing, you can’t prove it worked. That hurts your funding applications and makes it harder to adapt. Fix: start a simple spreadsheet on day one and make data entry part of every event.
How to Measure and Communicate Your Impact
Impact measurement isn’t just for grant reports. It’s how you prove to your community that their time and money produced real results. And it’s how you learn what’s working and what isn’t.
Simple metrics that work for community projects:
- Pounds of debris removed from the site
- Number of coral fragments outplanted and survival rate after six months
- Species observed during surveys (and changes over time)
- Water quality test results (pH, clarity, temperature)
- Volunteer hours logged
Photo documentation is powerful but undervalued. A simple before-and-after photo of a cleaned beach or a growing coral fragment communicates more than a page of numbers. For formal scientific surveys, use standardized methods like Reef Check or AGRRA protocols so your data can be compared to other projects.
Create a simple impact report template. Include a summary of goals, key numbers, photos, and lessons learned. Share it with partners, funders, and your volunteer list. This builds long-term support and makes it easier to recruit next year.
One common mistake: collecting data all year but never reviewing it. Schedule quarterly check-ins where you look at your data and decide whether to adjust your approach. Data is only useful if you act on it.
Sustainability: How to Keep the Project Running
The first year is the honeymoon phase. Volunteers are excited, funders are interested, and everything feels possible. Year two is where most projects fall apart. Here’s how to avoid that.
Long-term challenges:
- Volunteer turnover – people move, lose interest, or get busy. Train multiple leaders so the project isn’t dependent on one person.
- Funding gaps – grants run out, sponsors change priorities. Diversify your funding sources so no single one keeps you alive.
- Site degradation – sometimes the site gets worse despite your efforts. Have a backup location in mind.
Strategies that work:
- Create an online hub – a simple website or Facebook group where volunteers can see upcoming events, share photos, and stay connected.
- Schedule regular events – monthly cleanups or quarterly surveys create a rhythm that’s easier to sustain than occasional big events.
- Develop a leadership pipeline – recruit potential leaders early, give them responsibility gradually, and let them own specific parts of the project.
A realistic timeline: expect to spend the first six months planning and building partnerships. The next two years are your high-energy phase. By year three, you’ll know whether the project can sustain itself. If you’ve trained good leaders and diversified funding, it can run for a decade or longer.

Final Checklist to Launch Your Project
Before you start, run through this checklist:
- Project scope defined with one clear goal
- At least two partner organizations confirmed
- Funding source identified and initial supplies acquired
- Volunteer recruitment plan written and training scheduled
- Site selected and permits secured
- Gear list compiled and budgeted
- Data collection and reporting plan in place
- Leadership structure with backup people
Print it out. Check off each item before you announce your project publicly. It’s not glamorous, but it’s the difference between a project that lasts and one that fades away.
If you want a ready-made template for tracking all of this, there are downloadable project planning workbooks designed for marine conservation groups. They’re worth the small investment if they save you from rebuilding the wheel.
Once your project is running, focus on building community momentum. The more people who see the reef as something worth protecting, the easier every step becomes. Good luck—the reef needs people who are willing to do the work.