The Right Heater for Saltwater Tank Size: A Practical Guide
Introduction
Getting the right heater for saltwater tank size looks simple on paper, but it trips up a surprising number of hobbyists. Iâve seen reef tanks with beautiful coral growth wiped out because someone tossed a single 300-watt heater into a 120-gallon display and called it a day. Iâve also seen underpowered units running constantly, burning out in months, and leaving fish stressed from slowly drifting temperatures. If youâre setting up a new saltwater system or upgrading an existing oneâwhether itâs a mixed reef or a fish-only-with-live-rock (FOWLR) setupâgetting the wattage right matters. This guide covers the numbers, the tradeoffs, and the gear choices that actually make a difference.

Why Heater Size Matters for Saltwater Aquariums
Saltwater tanks are less forgiving than freshwater setups when it comes to temperature stability. Most marine fish and corals do best in a narrow band between 76°F and 80°F. Drop below that for a few hours and youâll see sluggish behavior and increased susceptibility to ich. Spike above it and you risk coral bleaching or oxygen depletion. The wrong heater size amplifies both problems.
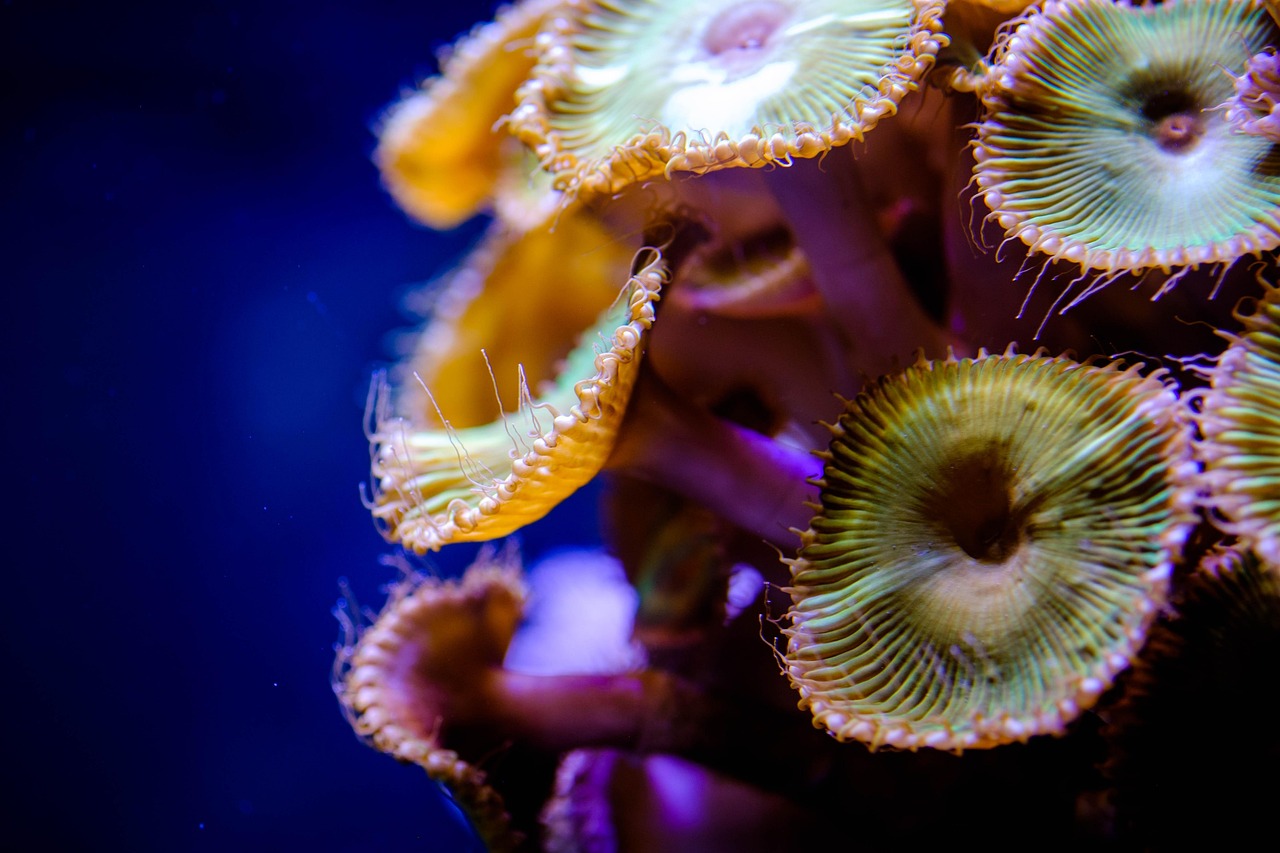
An undersized heater runs constantly, wears out faster, and struggles to keep up with room temperature drops. That constant cycling can cause the heater itself to crack or fail. An oversized heater can overheat the water in minutes if the thermostat fails, especially in a low-flow area. Iâve replaced a cracked glass heater that failed because it was working too hard in a cold basement room. That failure cost me a small colony of zoanthids. Correct sizing isnât about convenienceâitâs about preventing equipment failure and keeping your livestock stable.
The General Rule of Thumb: Watts per Gallon
The standard recommendation for saltwater aquariums is 3 to 5 watts per gallon of actual water volume. Thatâs slightly higher than for freshwater, and thereâs a good reason. Saltwater has a higher specific heat capacity, so it takes more energy to raise its temperature. Plus, many saltwater tanks are in rooms that are already cooler because hobbyists are managing heat from lights and pumps, or because the tank is in a basement or garage.
Hereâs a quick breakdown. A 20-gallon nano tank typically needs 75 to 100 watts. A 50-gallon tank falls in the 150- to 250-watt range. A 100-gallon tank needs 300 to 500 watts, depending on room temperature and lighting. Always calculate based on your actual water volume, not the tankâs nominal size. Rock and sand displace water, so if you have a 75-gallon tank with 60 gallons of actual water, size your heater for 60 gallons.
Room temperature matters. If your tank is in a climate-controlled living room at 72°F, you can stick to the lower end. If itâs in a basement that dips to 60°F at night, go to the high end or add 10% more wattage. I learned this the hard wayâa 200-watt heater in a 55-gallon tank in a cold garage never turned off and burned out in four months. That was an expensive lesson. For those starting out, a submersible aquarium heater with a reliable controller can simplify things.
One Big Heater vs. Two Smaller Heaters
This is where experience separates a smart setup from a risky one. Iâd recommend using two smaller heaters with a combined wattage slightly above the target, rather than one large unit. For a 100-gallon tank that needs roughly 400 to 500 watts, run two 250-watt heaters instead of a single 500-watt heater. The main reason is redundancy. Heaters fail, and the most common failure modes are stuck on or stuck off. If one sticks off, the remaining heater keeps the tank from dropping dangerously low. If it sticks on, the other heater is running anyway, so the temperature wonât spike as dramatically.
There are practical drawbacks. Two heaters cost more up front and take up more space in your sump or display. But for any tank over 40 gallons, the redundancy is worth the extra cost and clutter. For tanks under 20 gallons, a single heater is usually fine because the small water volume means a backup isnât as critical.
Hereâs a quick framework:
- Tanks under 20 gallons: One heater is sufficient. Place it near a powerhead for even heat distribution.
- Tanks 20â40 gallons: One heater works, but two smaller units (e.g., two 50W heaters for a 30-gallon tank) add safety without much extra cost.
- Tanks over 40 gallons: Two heaters are strongly recommended. Plan for combined wattage slightly above your calculated needs.
Titanium vs. Glass Heaters: Which Works Best in Saltwater?
This is a material decision that affects longevity in a saltwater environment. Titanium heaters are the clear winner for any serious setup. Theyâre shatterproof, which matters when youâre moving equipment around a sump or accidentally bumping a heater in the display. Theyâre also completely corrosion-resistant, so they wonât degrade over years of salt creep. The downside is that most titanium heaters donât have built-in thermostats. They need an external temperature controller, which adds another $30 to $60 to your setup.
Glass heaters are cheaper and widely available. They come with built-in thermostats, so theyâre plug-and-play. But they have real weaknesses. The glass casing can crack from thermal shockâlike if you let it cool down on the counter and then plug it back into warm water. Over time, the seals can corrode, causing the heating element to leak current into your tank. Iâve seen glass heaters fail by cracking at the glue line after a year or two in a saltwater sump. Theyâre fine for small tanks where budget is tight, but theyâre not a long-term solution for larger systems.
Practical advice: For a tank under 40 gallons, a glass heater with a separate thermometer is a reasonable budget choice. For any tank 40 gallons and up, especially if youâre running a sump, go with titanium heaters and a controller. For large reef systems over 200 gallons, titanium is the only sensible option. For those upgrading, a titanium aquarium heater for saltwater setups is worth looking at for long-term reliability.

When a Heater Fails: Real-World Failure Modes
Letâs talk about what actually happens when a heater breaks. The two common failures are stuck-on and stuck-off. In a stuck-on failure, the heater keeps running until the water temperature hits dangerous levelsâoften 86°F or higher. That can wipe out sensitive corals and fish within hours. In a stuck-off failure, the heater stops working entirely, and the tank slowly drops to room temperature. Fish get stressed, and ich outbreaks become likely.
Cheap heaters fail more often. Iâm not naming brands, but Iâve seen failures from units that cost under $20 and from units that cost over $80. The difference is that higher-quality heaters typically have better internal relays and more robust thermal protection. Theyâre not immune to failure, but theyâre less likely to fail catastrophically. Thatâs why the two-heater strategy worksâit turns a single failure into a manageable problem instead of a disaster.
Matching Heater Wattage to Common Saltwater Tank Sizes
Hereâs a practical breakdown for the most common saltwater tank sizes. Use this as a starting point, but adjust for your specific room temperature and water volume.
Nano tanks (10â20 gallons): 50 to 75 watts total. A single 50W or 75W glass heater works well. Place it near a small powerhead or filter outflow. A separate thermometer is a cheap safety measure here.
Small tanks (20â40 gallons): 100 to 150 watts total. A single 100W or 150W heater is usually fine, but two 75W units add a safety net. If youâre using a sump, consider titanium heaters with a controller.
Medium tanks (40â75 gallons): 150 to 250 watts total. Iâd recommend two heaters here. For a 55-gallon tank, two 150W titanium heaters in the sump with a controller work well. If you donât have a sump, place one heater in the display and one in a back compartment or near a powerhead.
Large tanks (75â120 gallons): 300 to 500 watts total. The two-heater approach becomes mandatory here. For a 90-gallon tank, two 250W titanium heaters with a controller is a solid setup. For a 120-gallon tank, two 300W heaters are the better call.
Extra-large tanks (120â200 gallons): 500 to 800 watts total. Two 400W or three 300W heaters, depending on your sump layout. Titanium heaters are essential here, and you should have a controller with a high-temperature alarm.
Temperature Controllers: Do You Really Need One?
Most heaters come with a built-in thermostat, but those thermostats arenât precise. Iâve tested several that drifted by 2 to 4°F from the set point over a few months. Thatâs a significant swing for a reef tank. An external temperature controller, like an Inkbird or Ranco, gives you independent temperature monitoring and control. You plug your heaters into the controller, and it turns them on and off based on its own sensor.
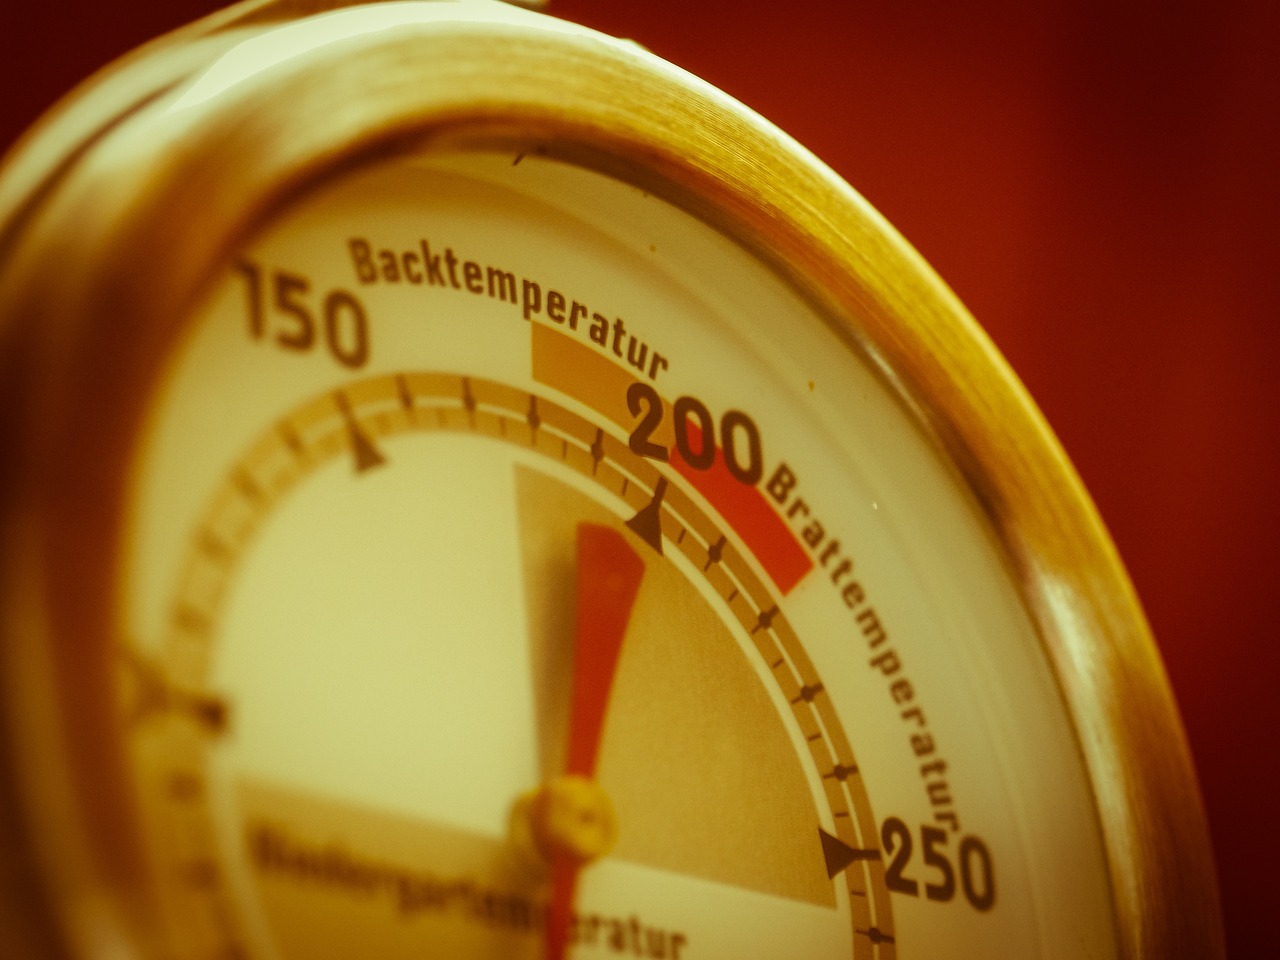
For tanks under 40 gallons, a built-in thermostat paired with a reliable glass thermometer is usually adequate. For anything larger, an external controller is a smart investment. It also lets you set a high-temperature alarm, which can alert you before a stuck-on heater does real damage. The cost is around $30 to $60, which is cheap insurance for a system that might hold hundreds of dollars in livestock. A temperature controller with alarm provides that extra layer of safety.
Heater Placement: Sumps, Display Tanks, and Flow Matters
Where you put the heater is almost as important as what wattage you choose. Heaters work best in areas of high water flow. In a sump, place them near the return pump or in the return section so heated water gets pushed back into the display. In a display tank without a sump, place the heater near a powerhead or filter outflow.
Donât bury the heater in the substrate or press it against the glass or acrylic. Heaters can melt acrylic panels if theyâre wedged against them. In my early days, I melted a small acrylic box filter by setting a glass heater directly against it. That was a cheap lesson, but it could have been an expensive crack in a rimless tank. Vertical placement in the sump is usually best because it creates a natural convection current. Horizontal placement works too, but it takes up more space and can create uneven heating if the flow isnât right.
Budget Considerations: Spending Smart on Heater Sets
Iâm not here to tell you to spend a fortune. But I will tell you where not to cut corners. A single cheap glass heater for a 100-gallon tank is a bad value because itâs high risk and likely to fail. A smarter spend is this: prioritize a quality controller first, then two reliable heaters (titanium if you can swing it), and finally a spare heater to have on the shelf.
If your budget is tight, start with a single good-quality glass heater and a separate controller. Add a second heater later. Donât skip the controller. That single purchase gives you temperature stability and alarm protection that no built-in thermostat can match. âBudgetâ doesnât mean buying the cheapest option; it means putting your money where it gives you the most safety per dollar.
Avoid These 3 Common Heater Setup Mistakes
Letâs wrap up the practical advice by covering three mistakes I see all the time.
First, using only one heater on a tank over 75 gallons. You lose the backup, and if that single heater fails, you have zero protection. The right way is two heaters of roughly equal wattage, both connected to the same controller.
Second, placing the heater directly in the substrate or against the glass. Heaters need flow around them to work efficiently. Burying them in sand or gravel creates hot spots and risks cracking the heater. The right way is to position them vertically in a high-flow area, ideally in the sump or near a powerhead in the display.
Third, relying solely on the heaterâs built-in thermostat without a separate thermometer. Built-in thermostats drift. Iâve seen a heater reading 78°F on the dial while the actual water temperature was 74°F. The right way is to use a digital thermometer or a controller with a separate probe to cross-check the temperature at least once a week. A reliable digital aquarium thermometer helps catch those drifts early.

Final Recommendations: Best Heater Setup for Your Saltwater Tank Size
Hereâs a concise decision framework for choosing a heater for saltwater tank size: For a 20-gallon nano, get a single 100-watt glass heater and a separate digital thermometer. For a 55-gallon tank, go with two 150-watt titanium heaters in the sump plus a temperature controller. For a 120-gallon system, use two 300-watt titanium heaters with a controller and a high-temperature alarm. For a 200-gallon system, three 300-watt or two 400-watt titanium heaters with a controller are the minimum.
Your specific room temperature, sump setup, and livestock sensitivity might shift these numbers slightly, but the principles are consistent. Prioritize redundancy, invest in a controller for any tank over 40 gallons, and use titanium heaters in sumps for long-term reliability.
Choose the right setup for your tank size and keep temperatures stable. Your fish and corals will show you the difference.