Komodo Drift Diving with Clownfish: Anemone Hotspots & Pro Tips
Why Komodo? Drift Diving Meets Anemone Capital
Komodo National Park sits right in the heart of the Indonesian Throughflow. Massive volumes of water pulse through the islands every six hours. That’s why currents are so consistently strong—and why the reefs are so absurdly healthy. The nutrient delivery system acts as a marine conveyor belt, feeding everything from sponges and soft corals to the massive anemone gardens divers come for.
Those currents do two things. They bring constant plankton and debris that anemones filter from the water column. They also keep water flowing fast enough that sediment doesn’t settle on the reef. You get crystal clarity between dives, and anemones that look scrubbed by hand. The park has had protected status since 1991—no dynamite fishing, no cyanide, no reef gleaning. That’s unusual for Indonesia. The result is that many sites host anemones the size of coffee tables, with entire clownfish colonies living in them.
This isn’t a place where you park on one patch of sand and watch the same fish for fifty minutes. You drift. You move. You cover ground. But that’s exactly why you see so many different anemone clusters in a single dive. I’ve logged over 200 dives here and still find new clusters on sites I thought I knew. That’s the real draw.

Top Komodo Drift Dive Sites for Clownfish
Batu Bolong
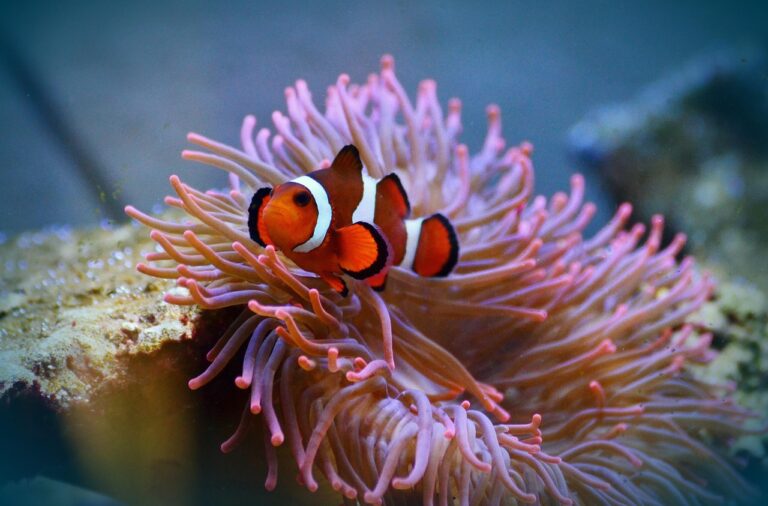
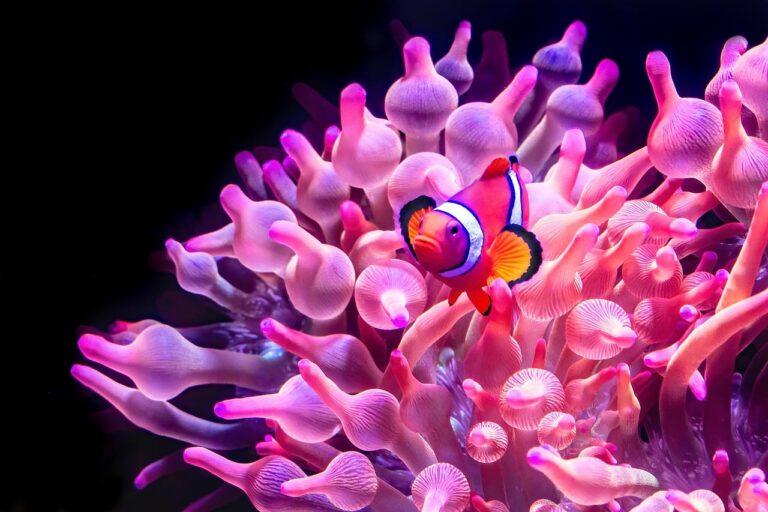
Batu Bolong is often the first site mentioned on any Komodo dive list, for good reason. It’s a submerged pinnacle rising from 30 meters to just below the surface. The current rakes across it from all sides, and the entire reef is covered in anemones. You’ll see False Clownfish (the true Amphiprion ocellaris) in Heteractis magnifica all over the top part of the pinnacle. The deeper ledges hold larger Stichodactyla gigantea carpets hosting Clark’s Anemonefish.
Current ranges from mild to ripping. Best dive on a dropping tide when flow is manageable. Depth tops out around 25 meters, but the really interesting stuff happens between 5 and 15 meters where light hits the anemones. I once counted six different anemone clusters on a single drift line here. You’ll barely move your fins.
Tatawa Besar
Tatawa Besar is a sloping wall that drops to about 20 meters before flattening into a sandy bottom. It’s less intense than Batu Bolong, which makes it a decent warm-up dive. The current is usually moderate. The anemone gardens here are huge and spread out. Pink and green carpet anemones dominate the sandy patches near the wall.
This is where you’ll find Pink Skunk Clownfish (Amphiprion perideraion), which are less common in other parts of Komodo. They’re smaller and more skittish than False Clownfish, so bring patience and a good macro setup. If you’re doing a photo dive, request an early morning slot when light filters through the shallows at an angle.
Manta Point
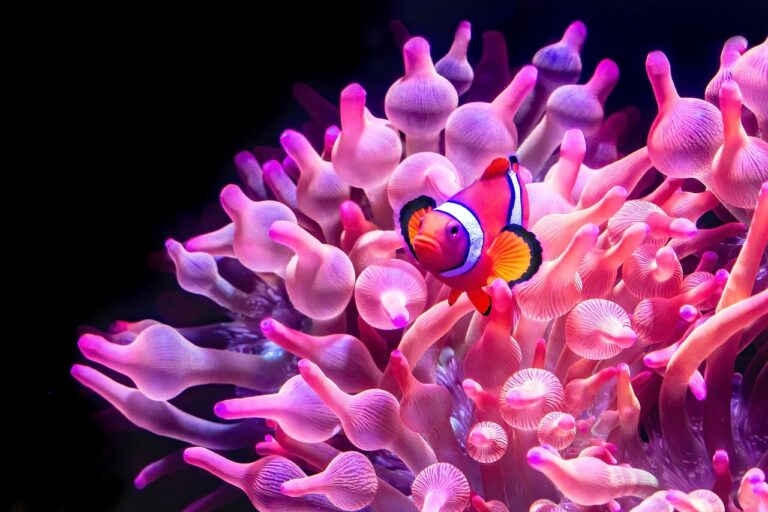
Manta Point is primarily known for cleaning stations where mantas gather, but the rocky slopes around those stations are loaded with anemones. The current here is moderate to strong, and you’ll spend most of the dive hovering over a flat shelf at 10 to 12 meters. The anemones here are mostly Entacmaea quadricolor (bulb-tentacle anemones) hosting Clark’s Anemonefish.
This site is worth a dive even if mantas aren’t your thing—the clownfish here are particularly bold. They’ve adapted to constant diver presence, so you can get closer than at more remote sites. Just watch your buoyancy on the shelf. Kicking up sand ruins visibility fast.
Castle Rock
Castle Rock is advanced only. Currents can hit 4 knots on a spring tide, and you need to be comfortable with reef hooks and drift protocols. The reward is massive anemone clusters on the lee side of the rock. The False Clownfish here are huge—some of the largest I’ve seen in Indonesia—and the anemones are dense and healthy.
Depth ranges from 5 meters at the top to 30 meters at the base. Stick to 15 to 20 meters for the best anemone viewing. If the current is running hard, hook in on the downstream side and let the reef come to you. Don’t fight the current. You’ll lose.
Crystal Rock
Crystal Rock is similar to Castle Rock but smaller and shallower. It’s a pinnacle that tops out at 3 meters, with current wrapping around it in predictable patterns. The anemone gardens are more concentrated since the pinnacle is smaller. You’ll circle it in a single drift if conditions are right.
The clownfish here are mostly False and Clark’s, with a few Pink Skunks if you look carefully in the Stichodactyla carpets at the base. Best conditions are on neap tides when current drops below 2 knots. Spring tides make this site a washing machine.
Gear Setup for Drift Diving: What You Actually Need
Drift diving in Komodo isn’t the same as drifting in Cozumel or Palau. Currents are more unpredictable, temperature swings are bigger, and you’re often in remote areas where boat pickup isn’t instant. Your gear needs to work well and be reliable.
Dive computer with nitrox capability. You’ll be doing multiple dives a day, often back to back. Nitrox extends bottom time and reduces fatigue. I use the Suunto D5 for its simple interface and RGBM algorithm, which handles multiple dives well. On a budget? The Cressi Leonardo works fine but lacks nitrox. Don’t buy a computer without nitrox functionality for Komodo.
Reef hook. Not optional. You need a hook to anchor yourself in current and watch anemones without being swept away. A ScubaPro Reef Hook is standard. Get one with a carabiner clip that attaches to your D-ring. Practice using it before you arrive.
Surface marker buoy (SMB). You will drift away from your boat. That’s a fact. You need a large orange or yellow SMB the boat crew can spot from a distance. The XS Scuba 6-foot SMB is bright and durable. Attach a reel separately—don’t buy the ones with integrated reels that jam.
Mask that fits properly. Current pushes water into your mask if it leaks even a little. Spend time trying masks before your trip. The ScubaPro Frameless 2 has a low profile that sits close to your face and doesn’t get pushed around. A strap cover helps prevent hair tangling in current.
3mm wetsuit. Water temperature in Komodo ranges from 24°C (75°F) in the dry season to 28°C (82°F) in the wet. A 3mm full suit is the sweet spot. The Bare 3mm Ultra Compression provides warmth without restricting movement. Don’t wear a shorty—you’ll get cold after multiple dives and the sun exposure on the boat will cook your exposed skin.
For camera setup, see the photography section below. Quick note: if you’re shooting video, use a tray with two handles. Single-handle setups are unstable in current and you’ll get shaky footage that looks amateurish.
Komodo Drift Diving: Skills You Should Have First
Komodo drift diving komodo clownfish is not a beginner’s game. I’ve seen divers with 20 logged dives struggle here, and I’ve seen rescued divers with 500 dives from other locations underestimate the current and get swept into open water.
You need solid buoyancy control. Not good. Solid. You should be able to hover at a fixed depth without kicking, adjust buoyancy by exhaling, and avoid touching the reef in current. Practice in a pool or calm water before you come.
You need to understand currents. Not just how to swim against them (don’t), but how to read them. In Komodo, current direction changes with tide, and different sites have different patterns. Your dive brief is critical. Listen carefully. Ask questions.
You need to know how to use a reef hook. This isn’t a piece of equipment you just clip on. Hook into dead coral or rock, not living reef. Keep the line short so you don’t bang around. Release it by pulling downward, not sideways. Practice in a controlled environment first.
You need to deploy an SMB while in current. Drift diving means you surface away from the boat. If you can’t inflate and send up an SMB at depth, you’re a hazard to yourself and your buddies. Practice this skill before your trip.
Compared to Palau, Komodo’s currents are punchier and less predictable. Compared to Cozumel, they’re more consistent but intense. If you’ve drifted in the Maldives, you’ll find Komodo similar but with stronger peaks.
Who should come? Advanced Open Water divers with at least 50 logged dives, including some drift experience. Who should think twice? Anyone with fewer than 20 dives, anyone uncomfortable with negative entries, and anyone who panics easily in current. Do a refresher course if you’re rusty.

Best Time to Visit Komodo for Clownfish Sightings
The dry season runs from April through November. This is your best window. Water temperature sits around 26–28°C, visibility ranges from 20 to 30 meters, and current patterns are stable enough for planning daily itineraries.
June to September is peak season. Water temperature drops slightly to 24–26°C, which is actually preferable for drifting—cooler water keeps you from overheating between dives. Visibility is often at its best during these months, think 30 meters plus on most sites. The clownfish breeding cycle peaks around July and August, meaning you’ll see juveniles and eggs in anemones.
October and November are still good, but trade winds start to drop off. Currents become slightly less predictable, and water warms up a few degrees. Visibility holds.
The wet season (December to March) brings rain, lower visibility (10–15 meters), and stronger winds that make some sites inaccessible. Currents during this period are unpredictable and sometimes dangerously strong. You can dive, but the experience isn’t the same. Most local operators run reduced schedules.
If you’re planning specifically around clownfish sightings, aim for July through September. The combination of prime breeding season, stable currents, and decent visibility makes it the ideal window. Book accommodations and flights well in advance—July and August are busy.
Where to Stay: Liveaboard vs. Resort vs. Day Trip
Your choice of accommodation directly affects which dive sites you can reach and how many dives you get per day. Here’s the breakdown.
| Option | Pros | Cons | Price Range | Best For |
|---|---|---|---|---|
| Liveaboard | Access to remote sites like Crystal Rock and Castle Rock, multiple dives daily (3–5), all-inclusive meals and gear storage, flexibility in itinerary | More expensive, limited comfort space, less flexibility for non-diving activities, seasickness risk | $200–$500 per day | Serious divers who want maximum bottom time and remote access |
| Resort (Labuan Bajo) | Comfortable rooms, decent food, easy logistics, day boats run daily, can choose your dive sites | Long boat rides (45–90 minutes) to remote sites, fewer dives per day (2–3), less flexibility if weather changes | $100–$300 per night (room) + dive packages | Divers who want comfort and don’t mind earlier boat departures |
| Day Trip from Bali/Flores | Cheapest option, no accommodation commitment, can do 1–2 dives | Very limited time, only nearby sites, rushed schedule, limited gear | $80–$150 per day | Budget travelers or those just testing the waters |
For most divers doing a dedicated trip, a 3- or 4-night liveaboard is the best value. You get the remote sites, avoid long boat rides, and maximize dive time. If you prefer comfort and are willing to trade a bit of access, a resort is fine. Just budget for the boat transfer time.
I recommend booking through a reputable operator for quality assurance. Read recent TripAdvisor reviews, but take them with a grain of salt—many are five-star reviews from guests who were given free trips.
Essential Gear for Photographing Clownfish in Drift
Photographing clownfish in Komodo’s drift requires gear that handles low light and fast movement. Currents here kick up sediment, which scatters light and reduces contrast. You need a setup that compensates.
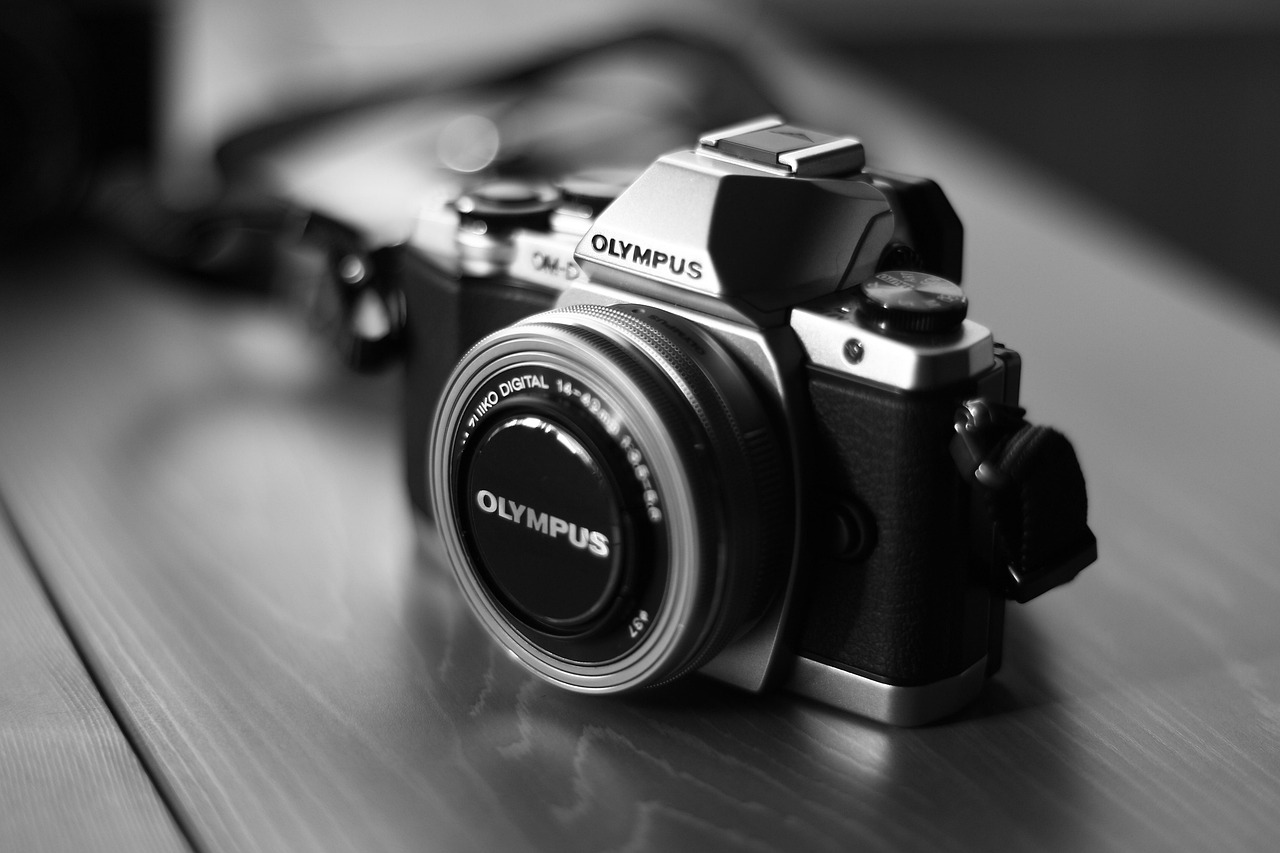
For affordability, the Olympus TG-6 with a PT-059 housing is the starting point. It’s compact, has a built-in macro mode, and handles low light better than any other compact camera. Pair it with a small video light clip-on for fill. The TG-6’s focus stacking works well for stationary clownfish in anemones, but it struggles with subjects moving in current. Practice using the follow AF mode.
For better quality, go with a Sony A6700 or Fuji X-T5 in a Nauticam housing. These sensors are larger and handle low-contrast conditions better. Use a macro lens (90mm or 100mm equivalent) for clownfish. Avoid wide-angle lenses—they force you too close to the anemone and you’ll stir up sediment. I’ve seen photographers try to shoot clownfish with an 8mm lens and all they get is blurry tentacles and sand particles.
For lighting, use two strobes on arms rather than a single video light. Strobes freeze motion and provide even illumination. The Inon Z330 is a workhorse. Set them at 45-degree angles to eliminate backscatter. In low-visibility conditions, reduce strobe power by half and move closer to the subject.
One common mistake: shooting upward toward the surface. In drift, you’re often looking up to see the clownfish silhouetted against the surface. That backlight kills your exposure. Instead, position yourself slightly above the anemone and shoot down at a 45-degree angle. You’ll get tentacle details and avoid the blown-out background.
If you want an all-in-one kit, consider the Olympus TG-6 with housing, tray, and single strobe kit. It’s around $700 new and covers everything you need for competent clownfish photography in drift. Don’t buy separate pieces unless you know exactly what you’re doing.
Common Mistakes Drift Divers Make at Komodo
Forgetting a reef hook. I’ve seen divers jump in without a hook and spend the whole dive fighting the current. They miss everything. Buy one before your trip and attach it to your BCD before you board. Some operators rent them, but they’re often worn out.
Diving without a current plan. You and your buddy should agree before the dive what to do if the current picks up. Do you hook in? Do you ascend? Do you signal the boat? I’ve seen buddy pairs separate—one gets swept into a canyon while the other stays at the reef. Brief your plan underwater.
Not checking tides. Current strength is directly related to tide. A spring tide on a full moon can double the current compared to neap tide. Check the tide tables for the park before you plan dive days. Most operators do this, but double-check.
Ignoring safety stops in strong current. Safety stops are non-negotiable, but in strong current, some divers skip them. That’s how you get bent. If current is too strong to hold a stop, signal your buddy and ascend slowly. Better to surface a minute early than to miss the stop entirely. Operator logs show that most DCS incidents involve divers who skipped safety stops because ‘current was too strong.’
Kicking fins near anemones. This destroys the tissue. Clownfish rely on their anemone for protection. If you damage the anemone, the fish leave. Use frog kicks or helicopter turns near anemones. Keep your fin tips away from the base.
Underestimating surface conditions. Komodo’s surface can be choppy even when the underwater current feels calm. Getting back on the boat in rough seas is dangerous. Wear a hood and carry a whistle on your BCD. In an emergency, you need to be heard over wind and engine noise.

Sample 3-Day Komodo Drift Diving Itinerary
Day 1: Arrival and Easy Drift
Fly into Labuan Bajo in the morning. Check into your hotel or board your liveaboard. Do an afternoon checkout dive at one of the easier sites—Tatawa Besar is perfect. It’s shallow enough (max 18 meters) that you can focus on buoyancy and current reading without worrying about depth. Expect moderate current, maybe 1 to 2 knots. The anemone gardens here are huge, so you’ll see plenty of clownfish even on a short dive. Spend 45 minutes on the wall and 15 minutes on the sand patches. Surface, debrief, and have dinner at a local seafood restaurant on the waterfront.
If you’re staying at a resort, ask the dive shop for a brief on the next day’s currents. They’ll usually have a current prediction chart. All good operators review the tide tables before planning sites.
Day 2: Advanced Drift and Manta Point
Start early—boat departure at 6:30 AM. Head to Batu Bolong for your first dive. The morning light hits the anemones beautifully, and the current is usually manageable early. This is a 45- to 50-minute drift. Keep your camera gear minimal for this one—use a compact or a GoPro on a tray. The current can rip, and big DSLR rigs become unmanageable.
After surface interval and breakfast, move to Castle Rock or Crystal Rock depending on conditions. This is where your reef hook comes in. Hook in at 18 meters on the downstream side and watch the anemones. The False Clownfish here are among the largest I’ve seen—some are almost the size of your palm.
If conditions allow, do a third dive at Manta Point in the afternoon. It’s a relaxed dive compared to the morning. Focus on the anemones around the cleaning stations. The mantas are a bonus, not the main attraction.
Day 3: Final Drift and Departure
Early morning dive at a shallow site like Crystal Rock or one of the smaller pinnacles. This is a good one for photography because light is still low and clownfish are just becoming active. Keep your dive short (40 minutes max) to allow for pack-up and travel.
Return to Labuan Bajo by 10 AM. If you have a late flight, ask your operator if you can do a quick shore dive near the harbor. Some sites are accessible from the beach and offer decent anemone gardens without a boat. Not amazing, but a good final dip.
For packing, bring: your own mask, fins (full foot or open heel), computer, SMB with reel, reef hook, 3mm wetsuit, camera setup, and a small dry bag for personal items. A Stahlsac 40-liter mesh bag is great for easy gear transport on the boat. It’s affordable and keeps your gear from dripping everywhere.
If you’re looking to book a reliable liveaboard or a resort package, use a booking platform that offers free cancellation and vetting. Many operators in Labuan Bajo have inconsistent quality. I’ve had good experiences with Komodo Dive Liveaboard, but always read recent reviews and confirm the itinerary before paying.